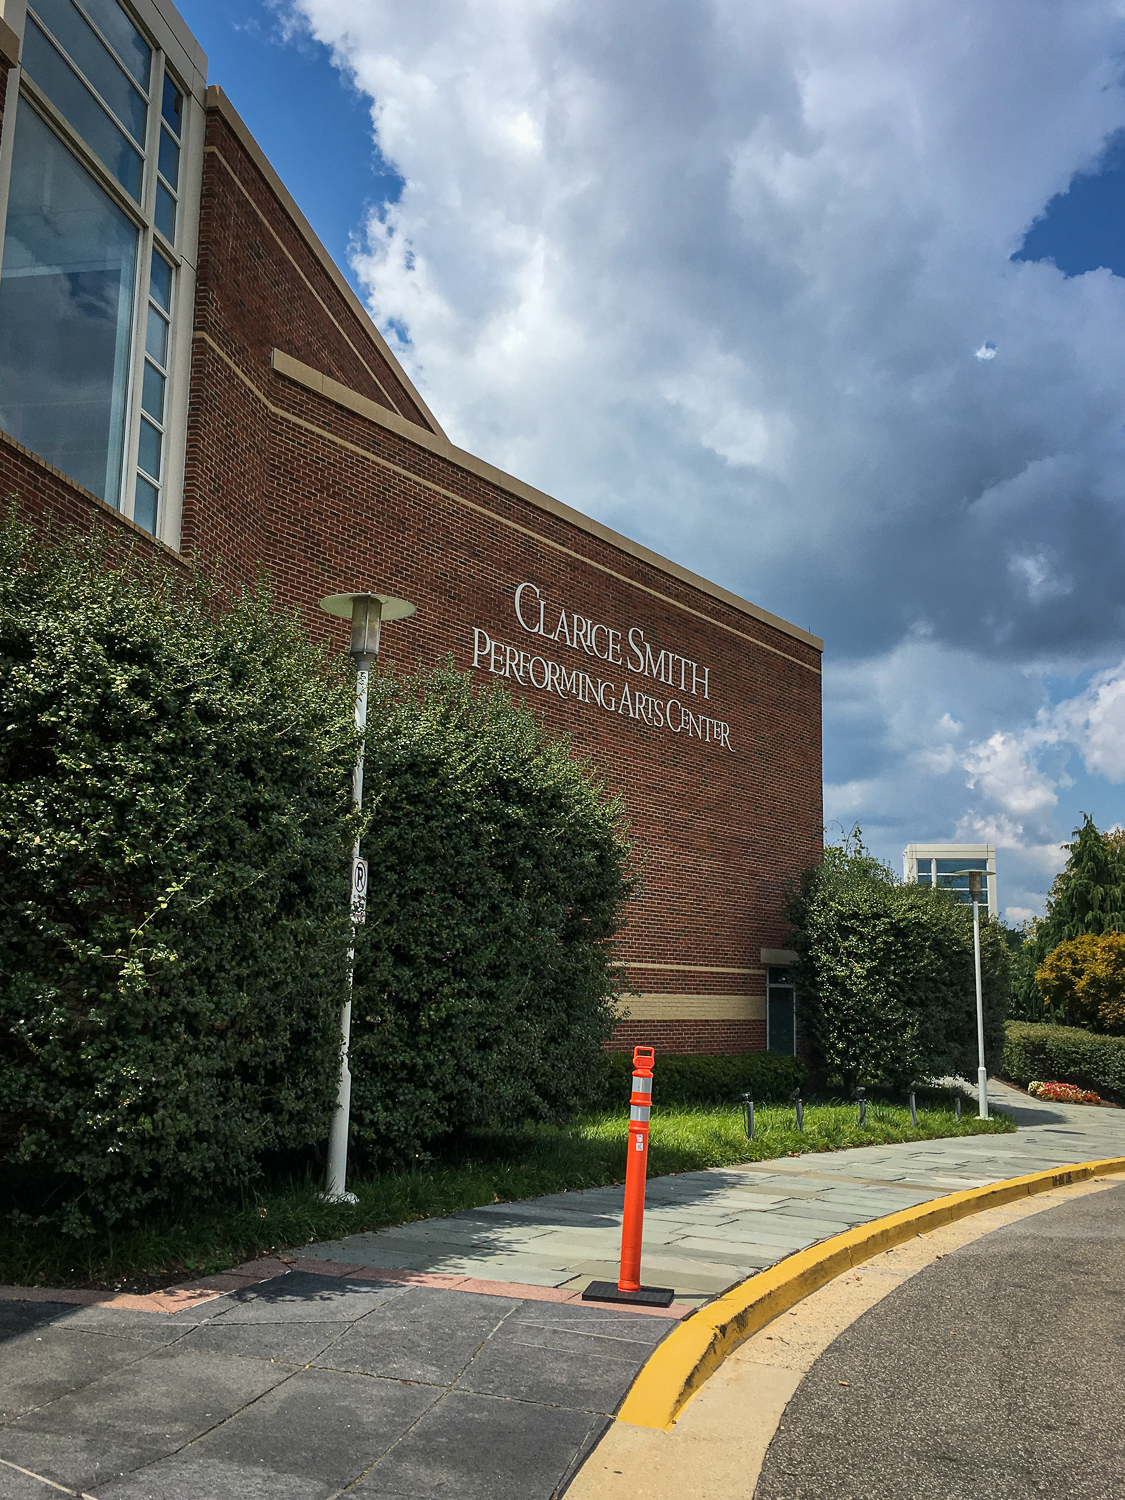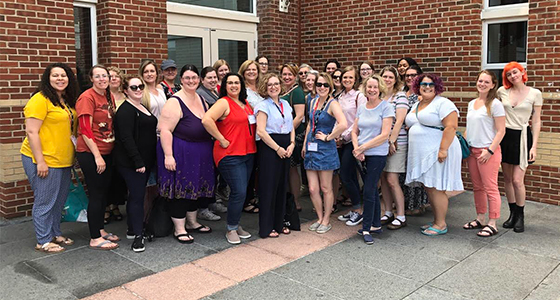
A group of 29 costume designers and enthusiasts from across the country converged from July 31 – Aug. 3 at the University of Mayland’s Clarice Smith Performing Arts Center for the 2019 iteration of USITT’s Costume Symposium. Taught by Cynthia Settje, the founder of Redthreaded Corsets and Costumes, participants were treated to three-and-a-half days of tactile learning on how to create 18th- and 19th-century stays and corsets.
Alexandria Vazquez, the Costume Shop Manager at the Orlando Repertory Theatre, was kind enough to share her experience and progress with USITT from the first day of the Symposium to the last.
Day one
Part one
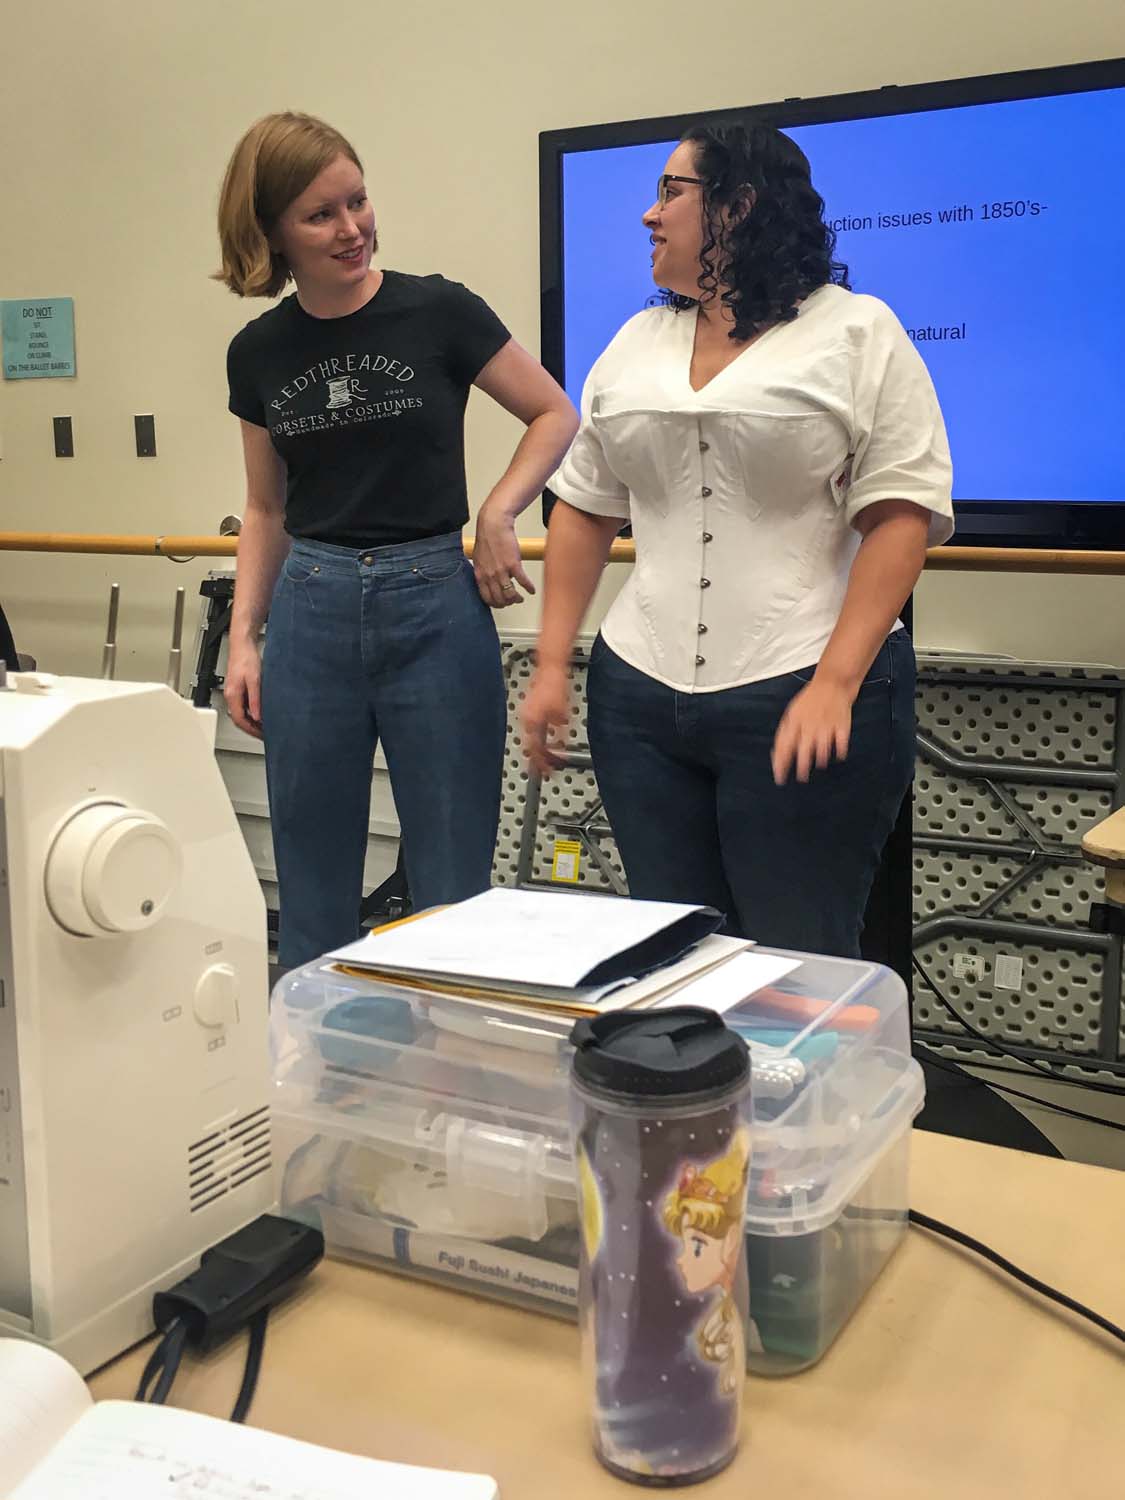
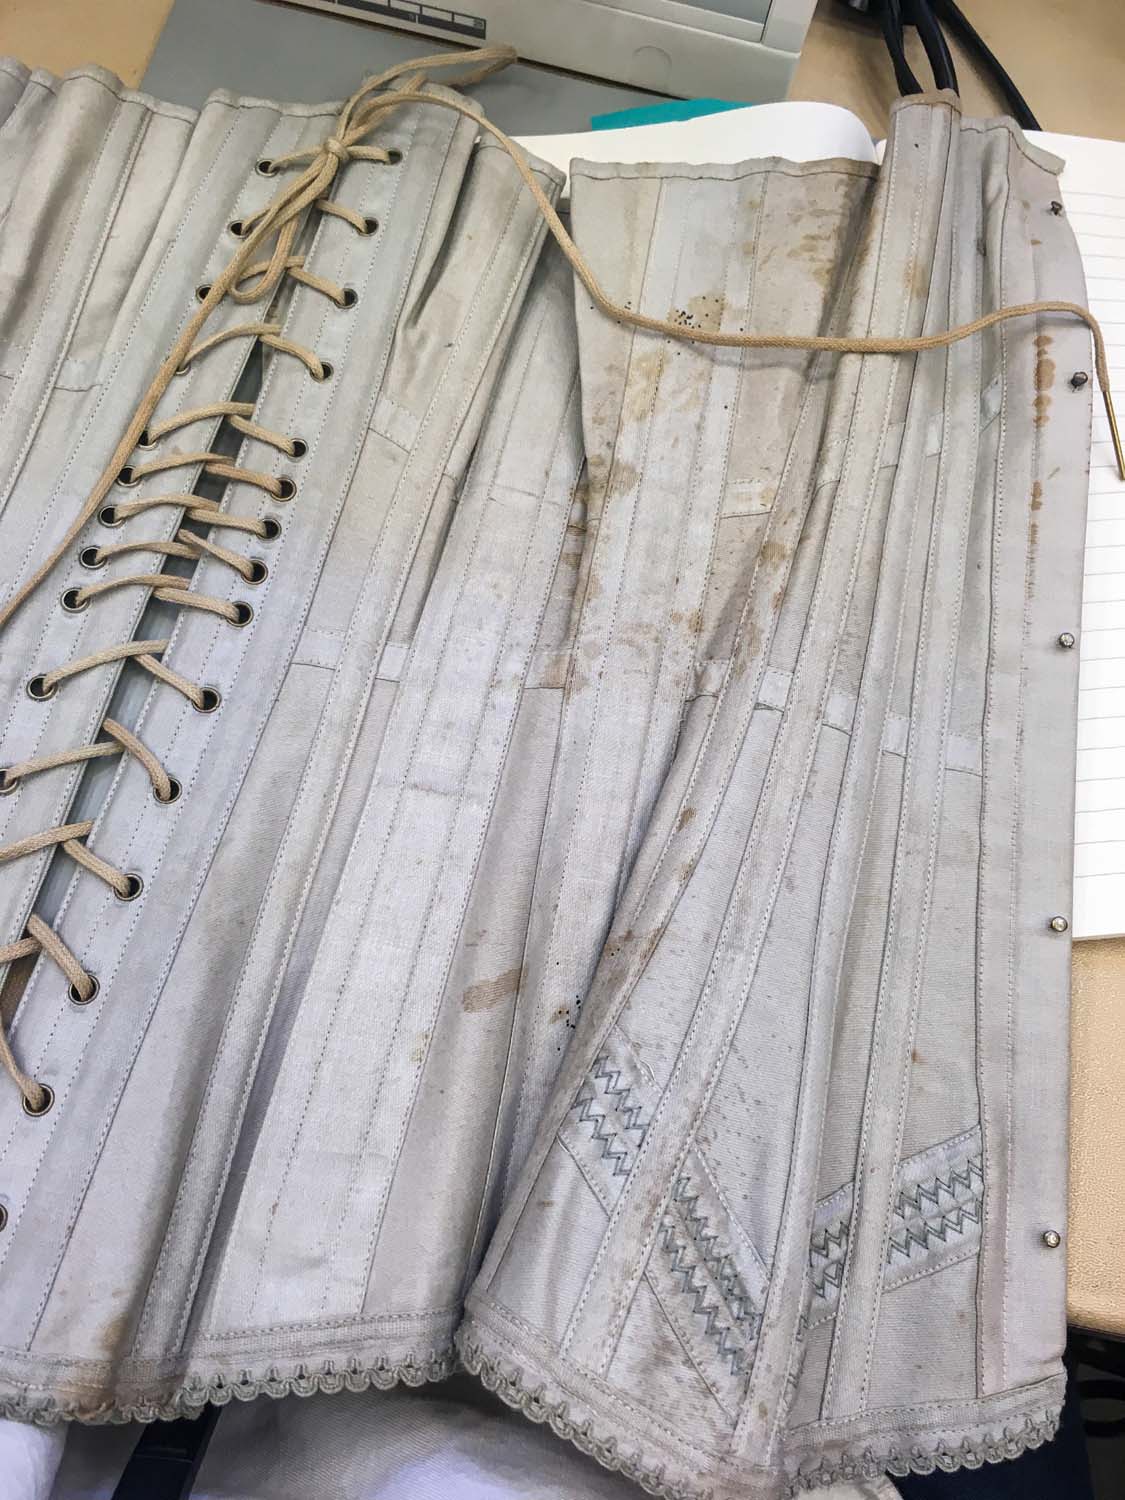
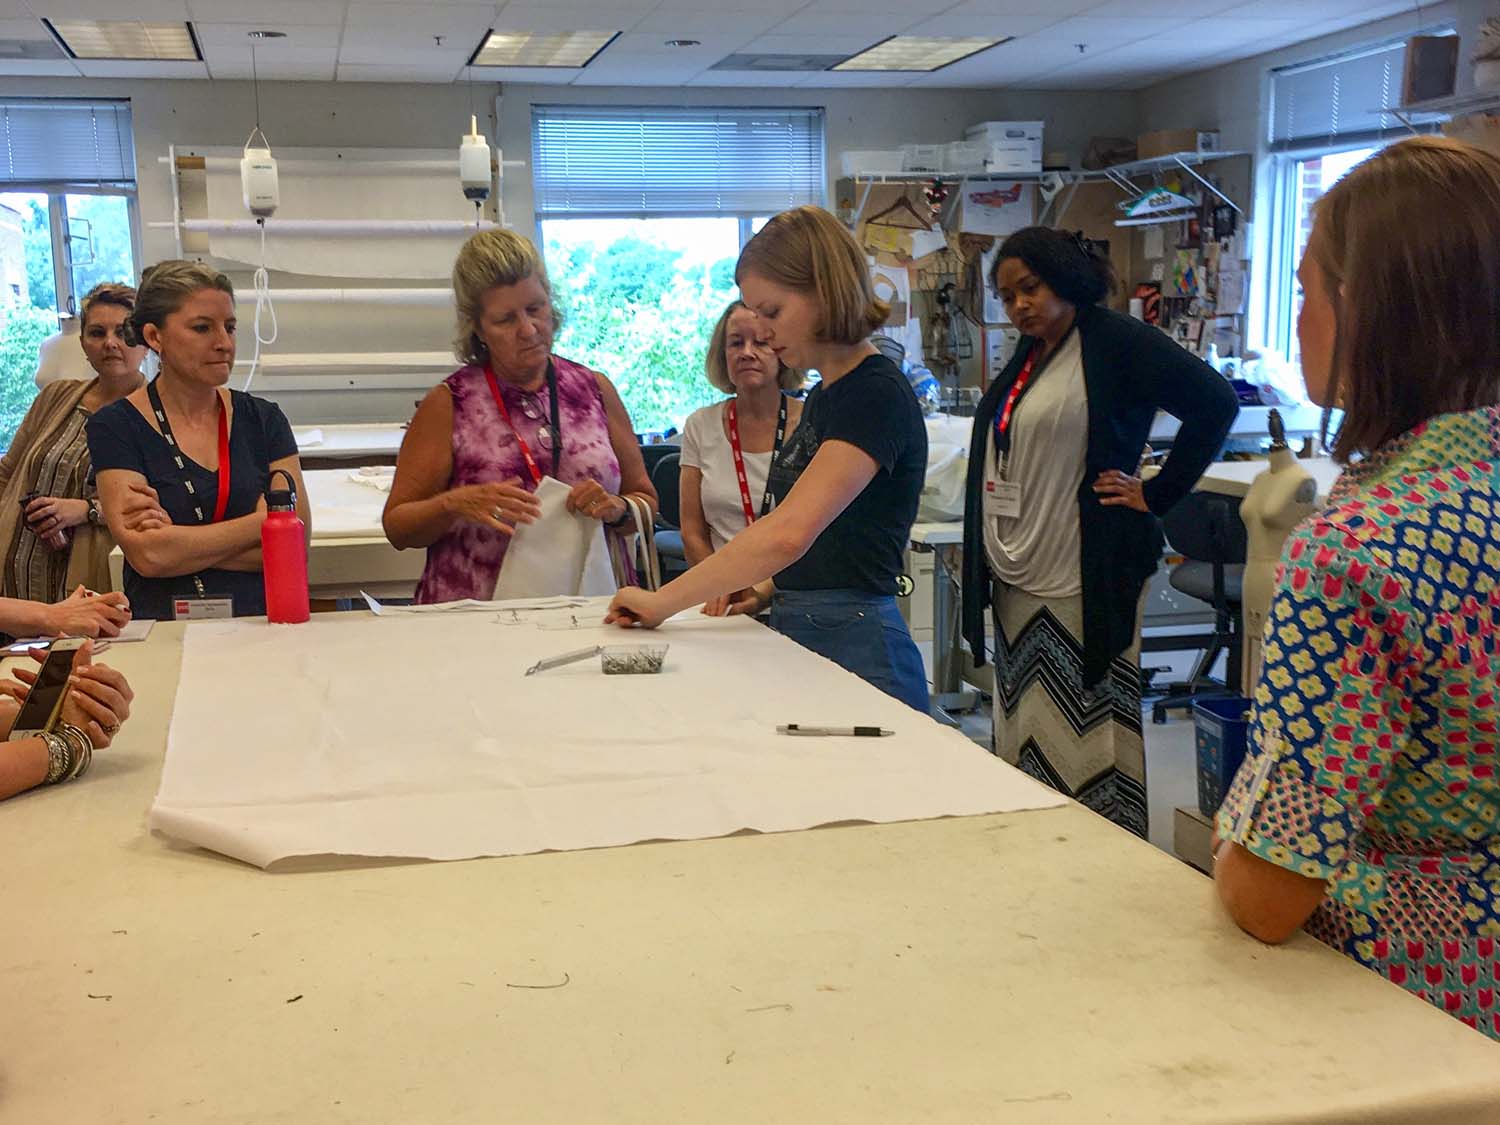
We had a fantastic first day that began with a short lecture and demo of extant corsets and stays with Cynthia Settje, the founder of Redthreaded Corsets and Costumes. The company drafts fantastic historical recreation patterns for corsets and stays and sells tons of both styles each year!
We discussed the pros and cons of traditional whalebone, steel boning, and synthetic whalebone. I held my first piece of 100-plus-year-old baleen, aka whalebone. After doing a few corset demos (I actually modeled — what?!), we began cutting out corsets and had further demos on the corset-making process; more on that soon! So far I’m learning a TON and meeting some fantastic costume professionals in the process!
part two
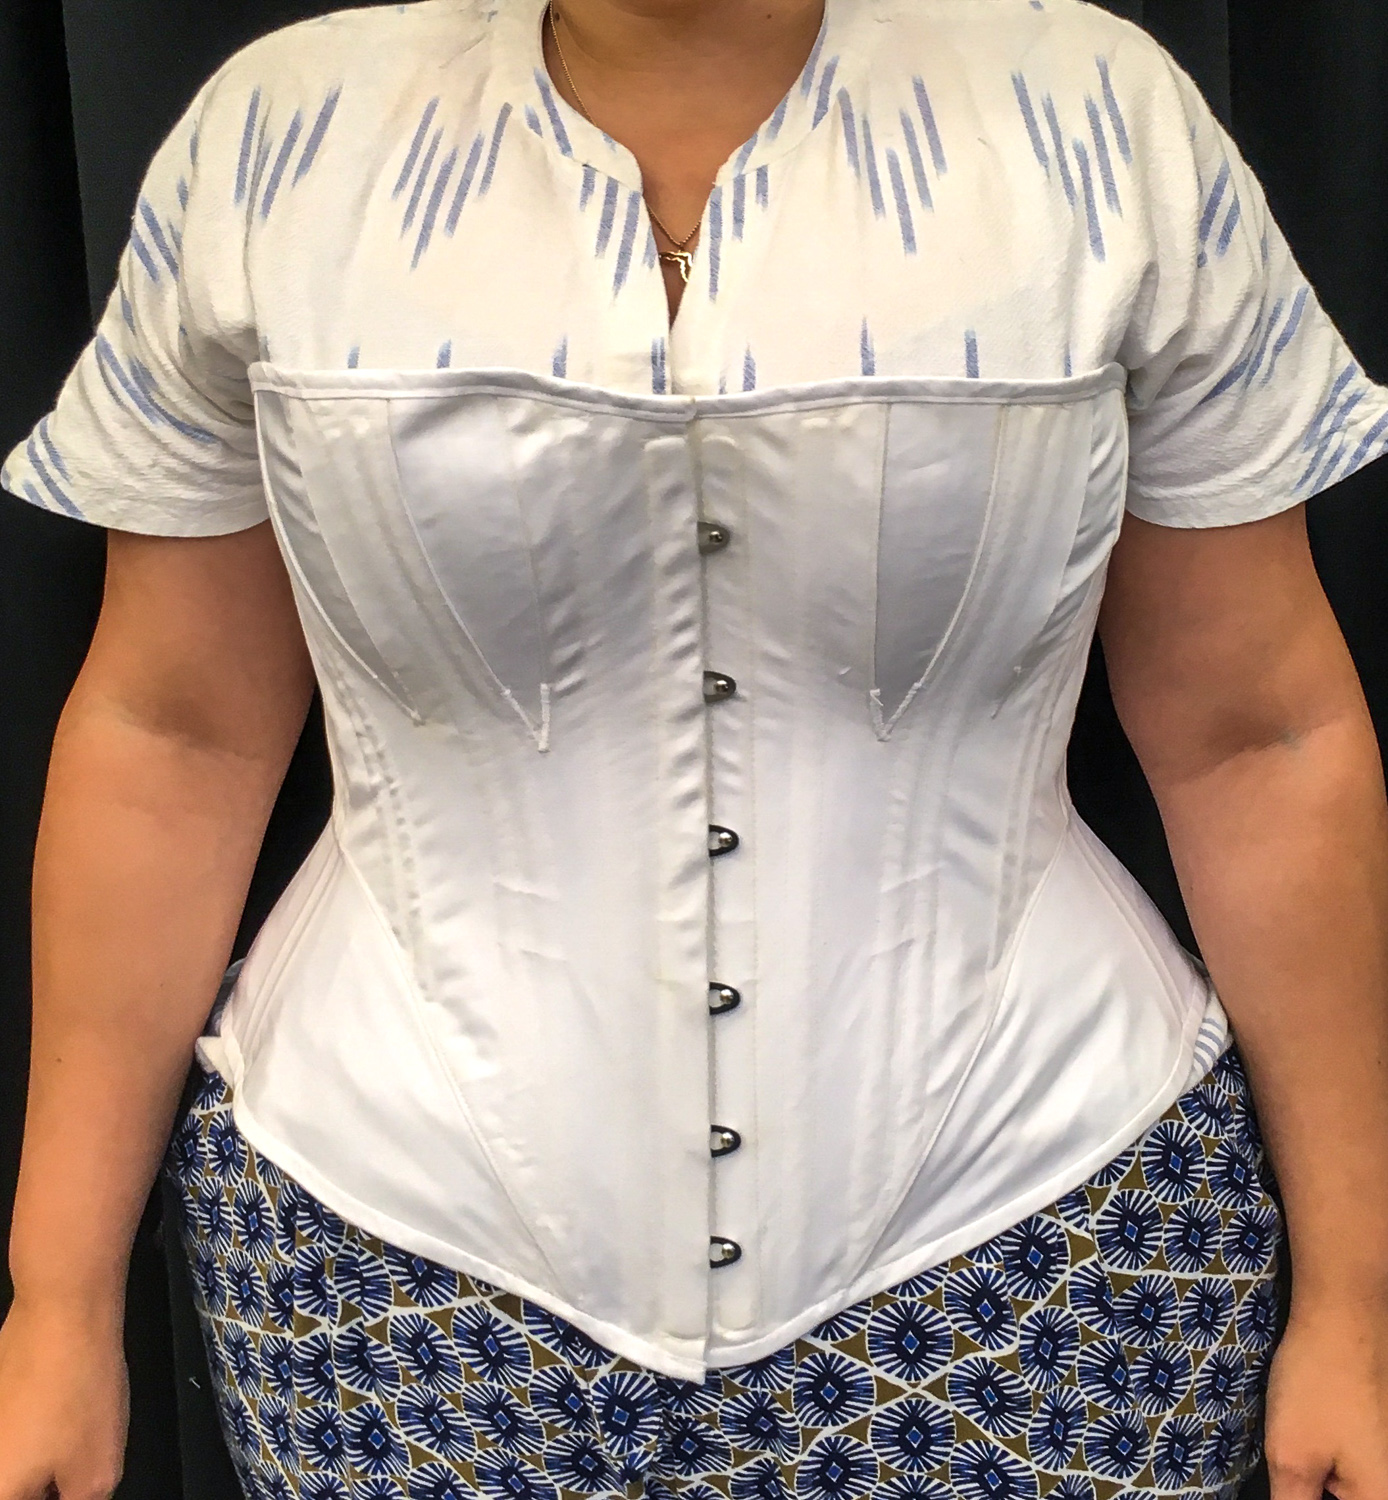
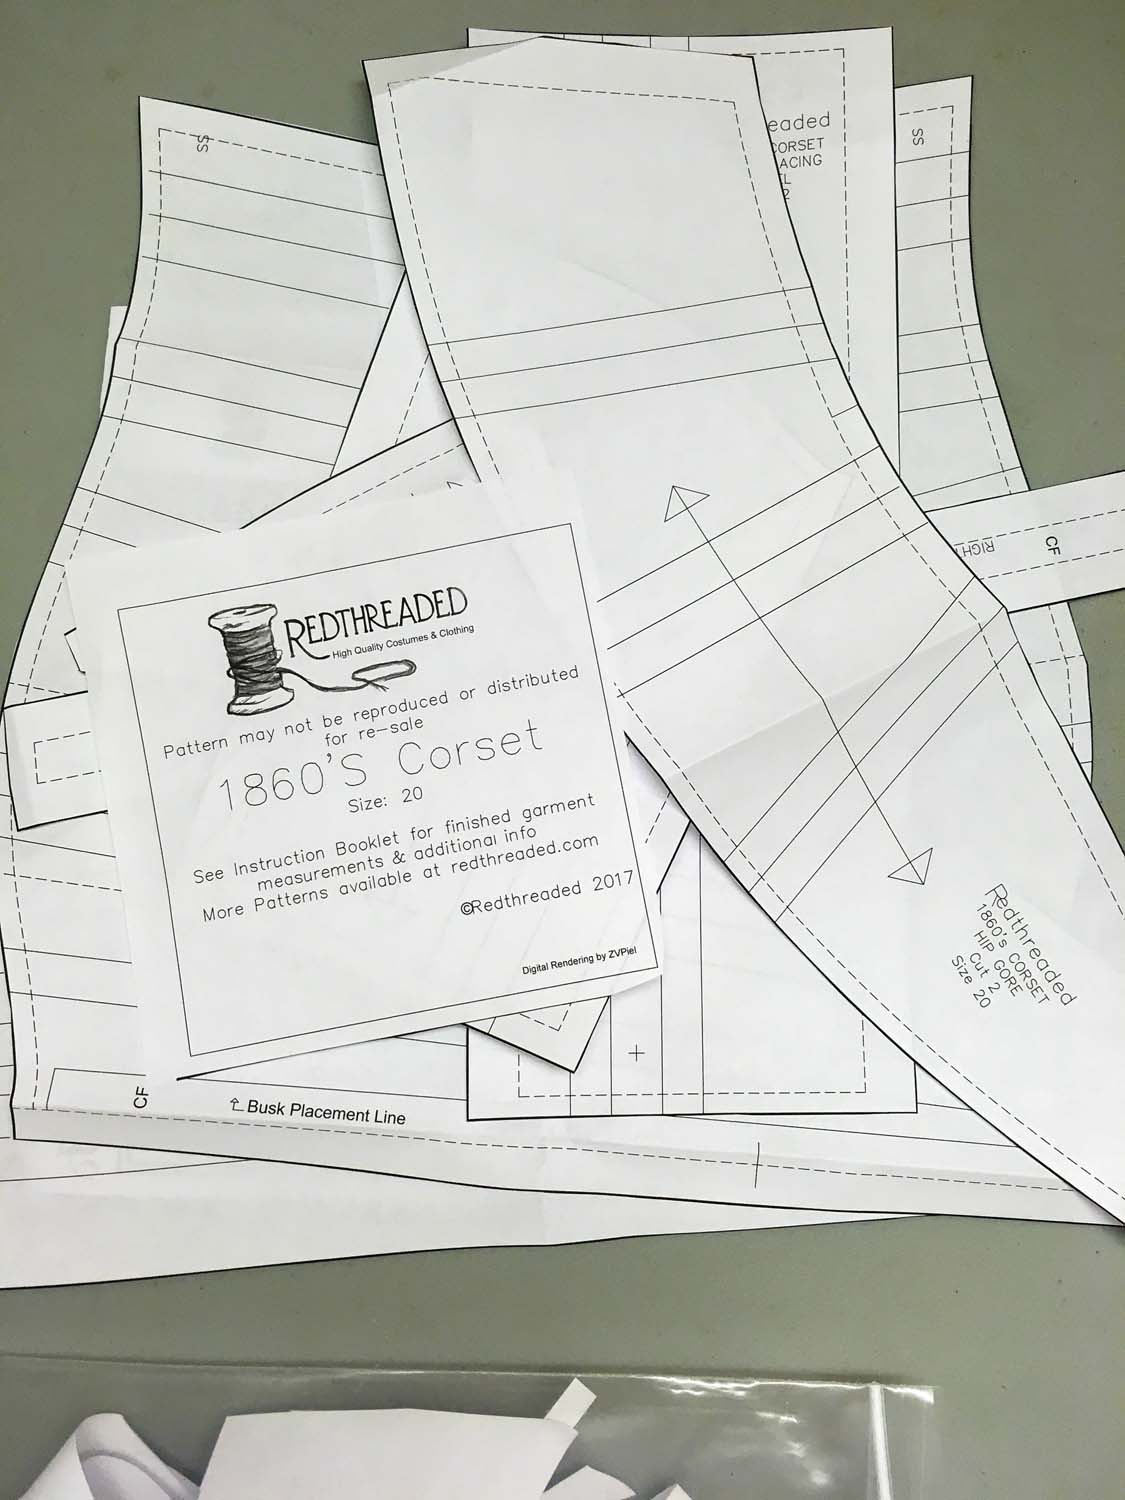
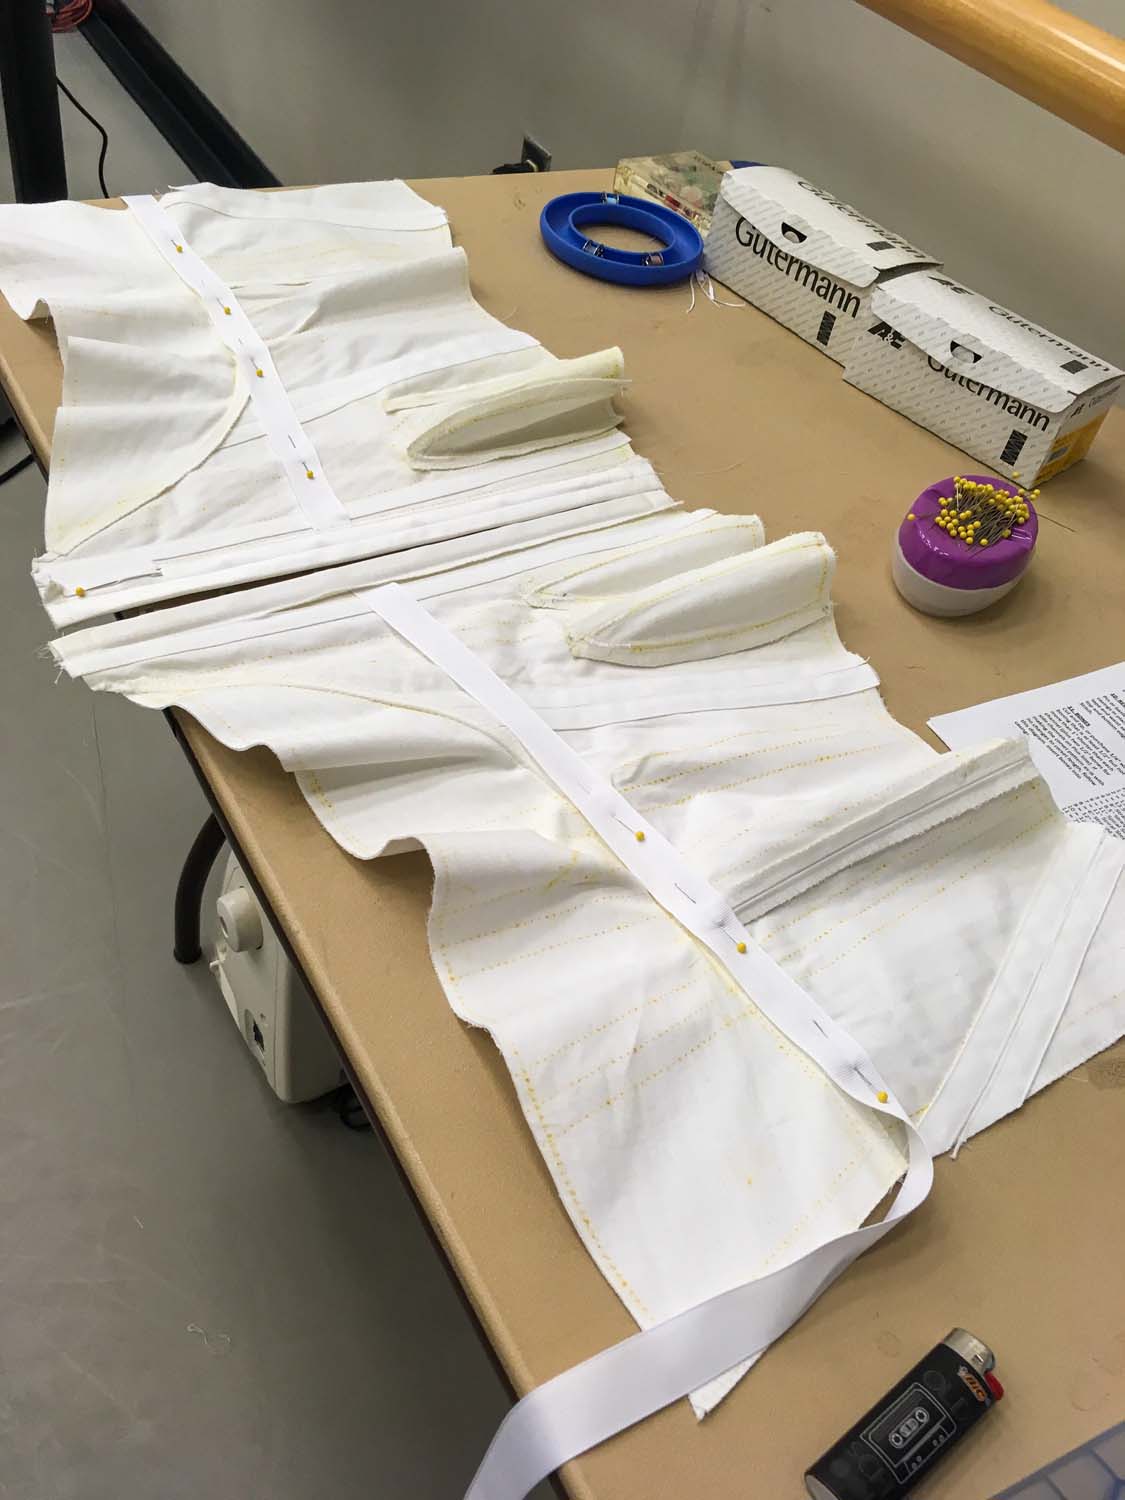
We all got started right away on our projects! Half the class opted for the 18th-century stay pattern, and the other half (including me!) opted for the 1860’s corset, which features hip gores.
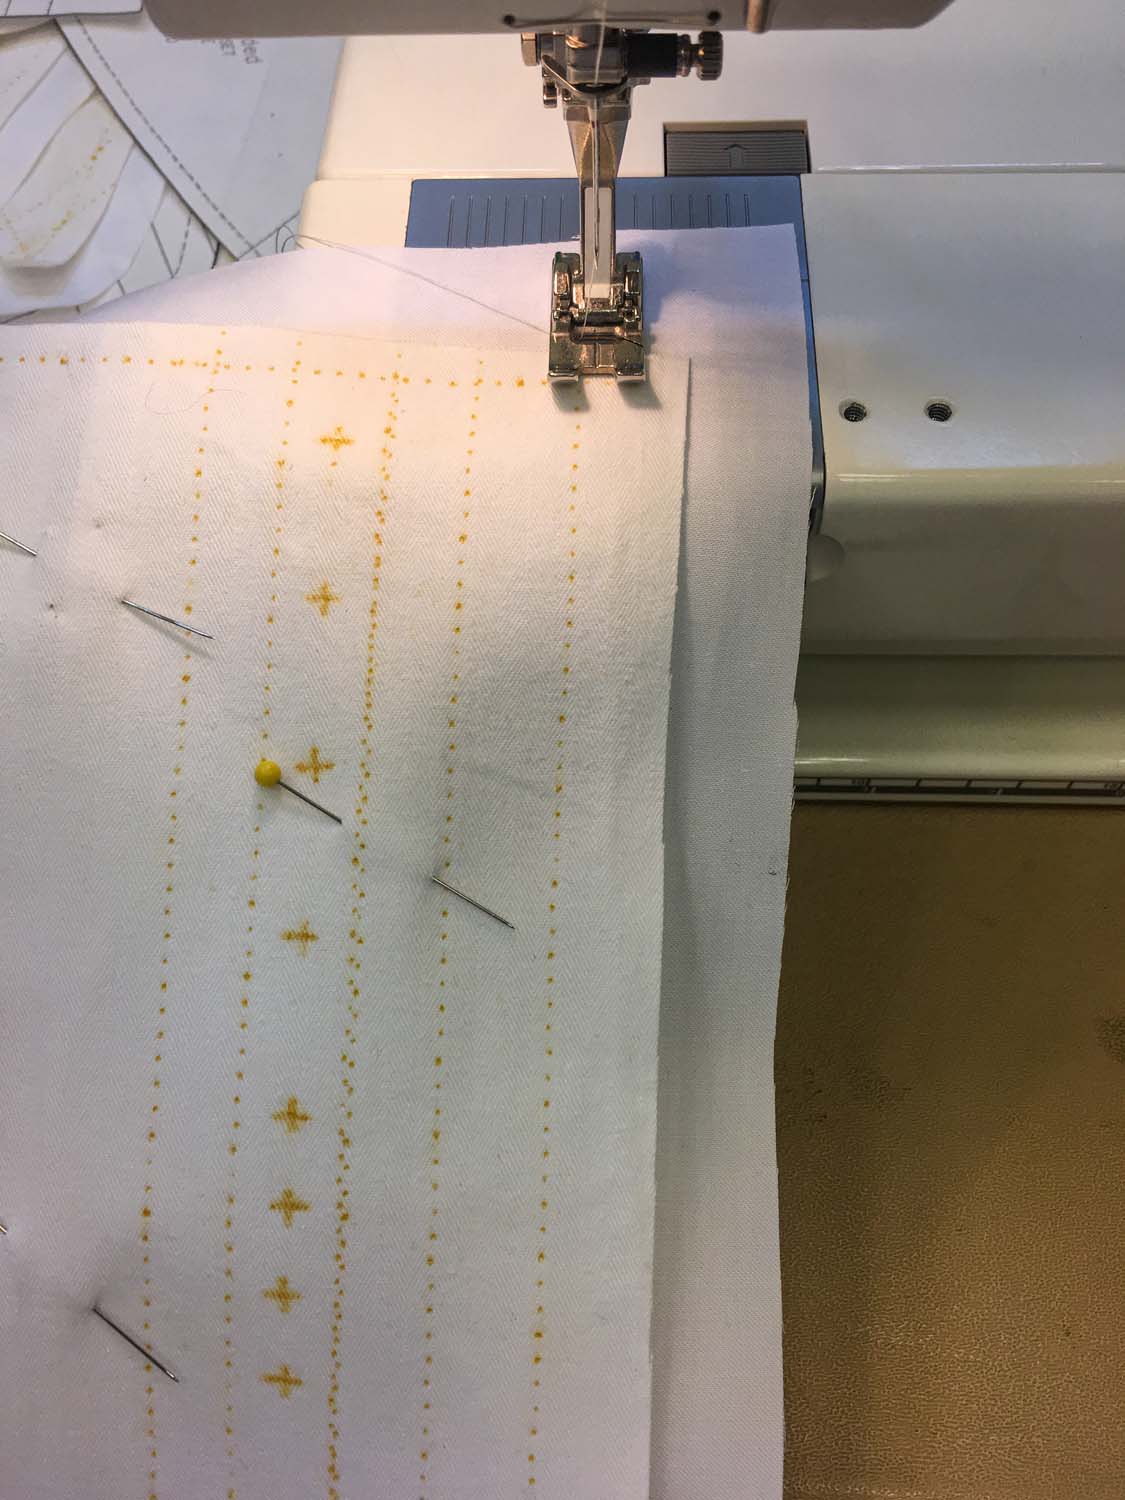
We used coutil as a stabilizer base and traced our patterns on to that, then flatlined with a cotton sateen, which is dyeable later on. Some costumers brought a fashion fabric they had planned to use instead of the sateen, as well. After cutting, flatlining, and zig-zagging edges (we did not have access to a serger), I got a tutorial on how to insert my first busk! I’m not sure how I’ve made it this far as a costume professional and not done that yet, but it’s finally happened.


Day two
part one
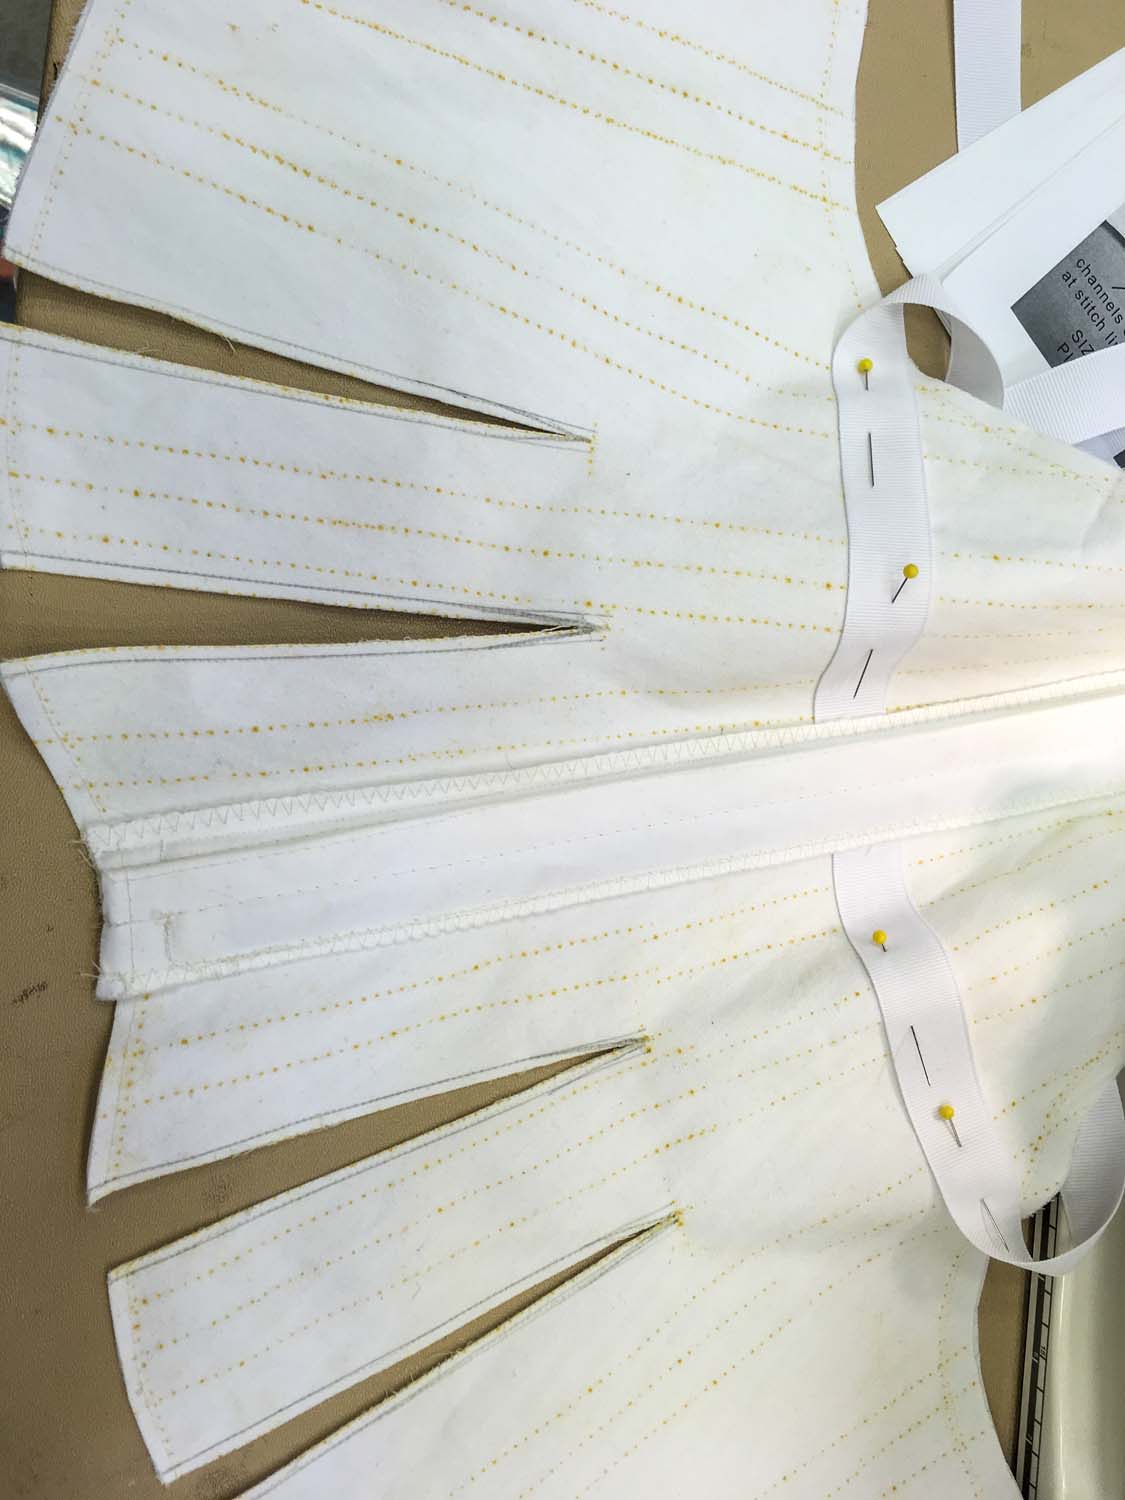
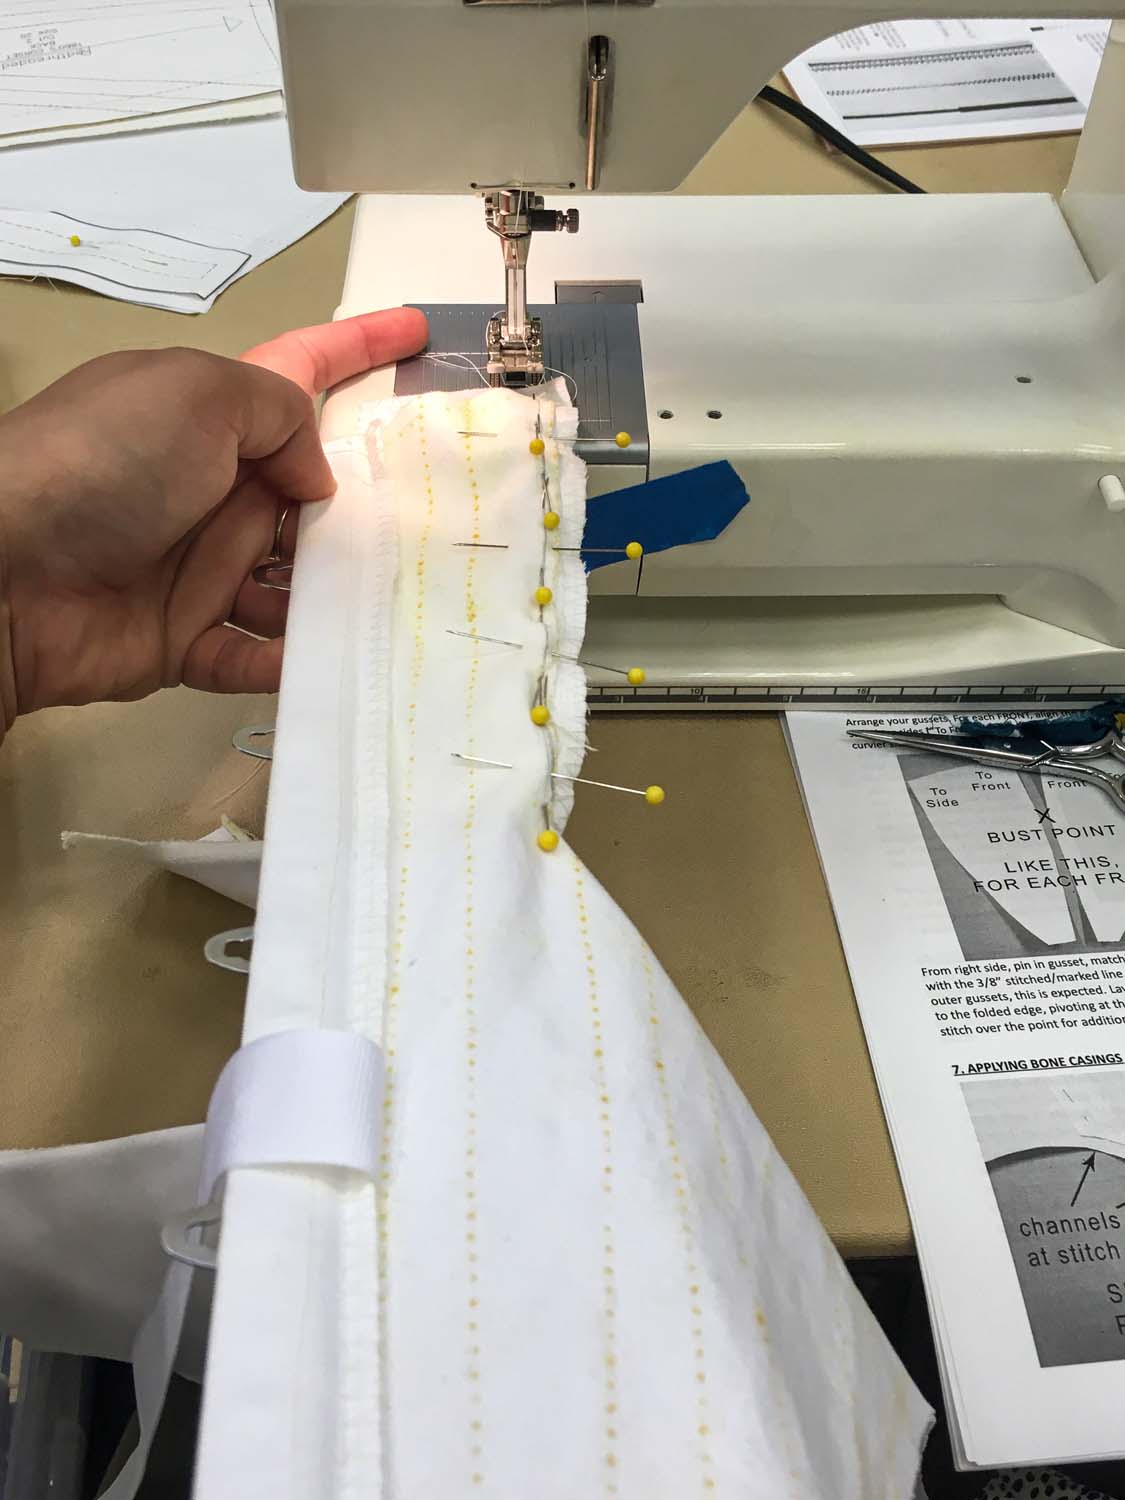
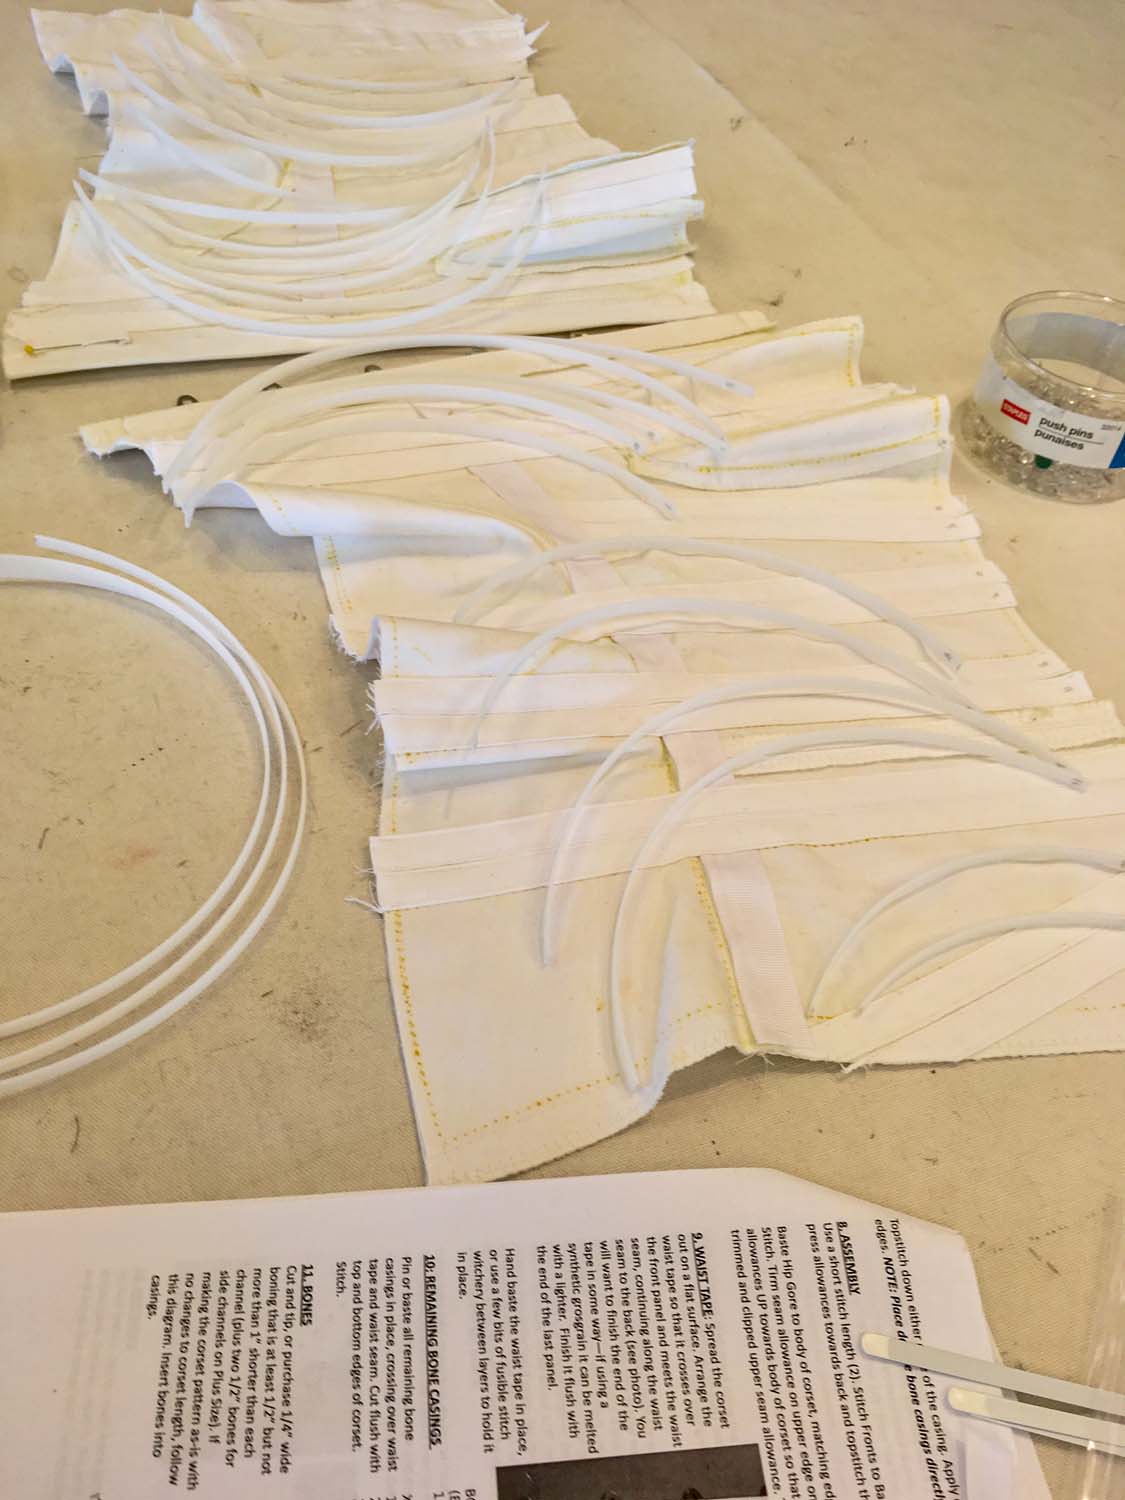
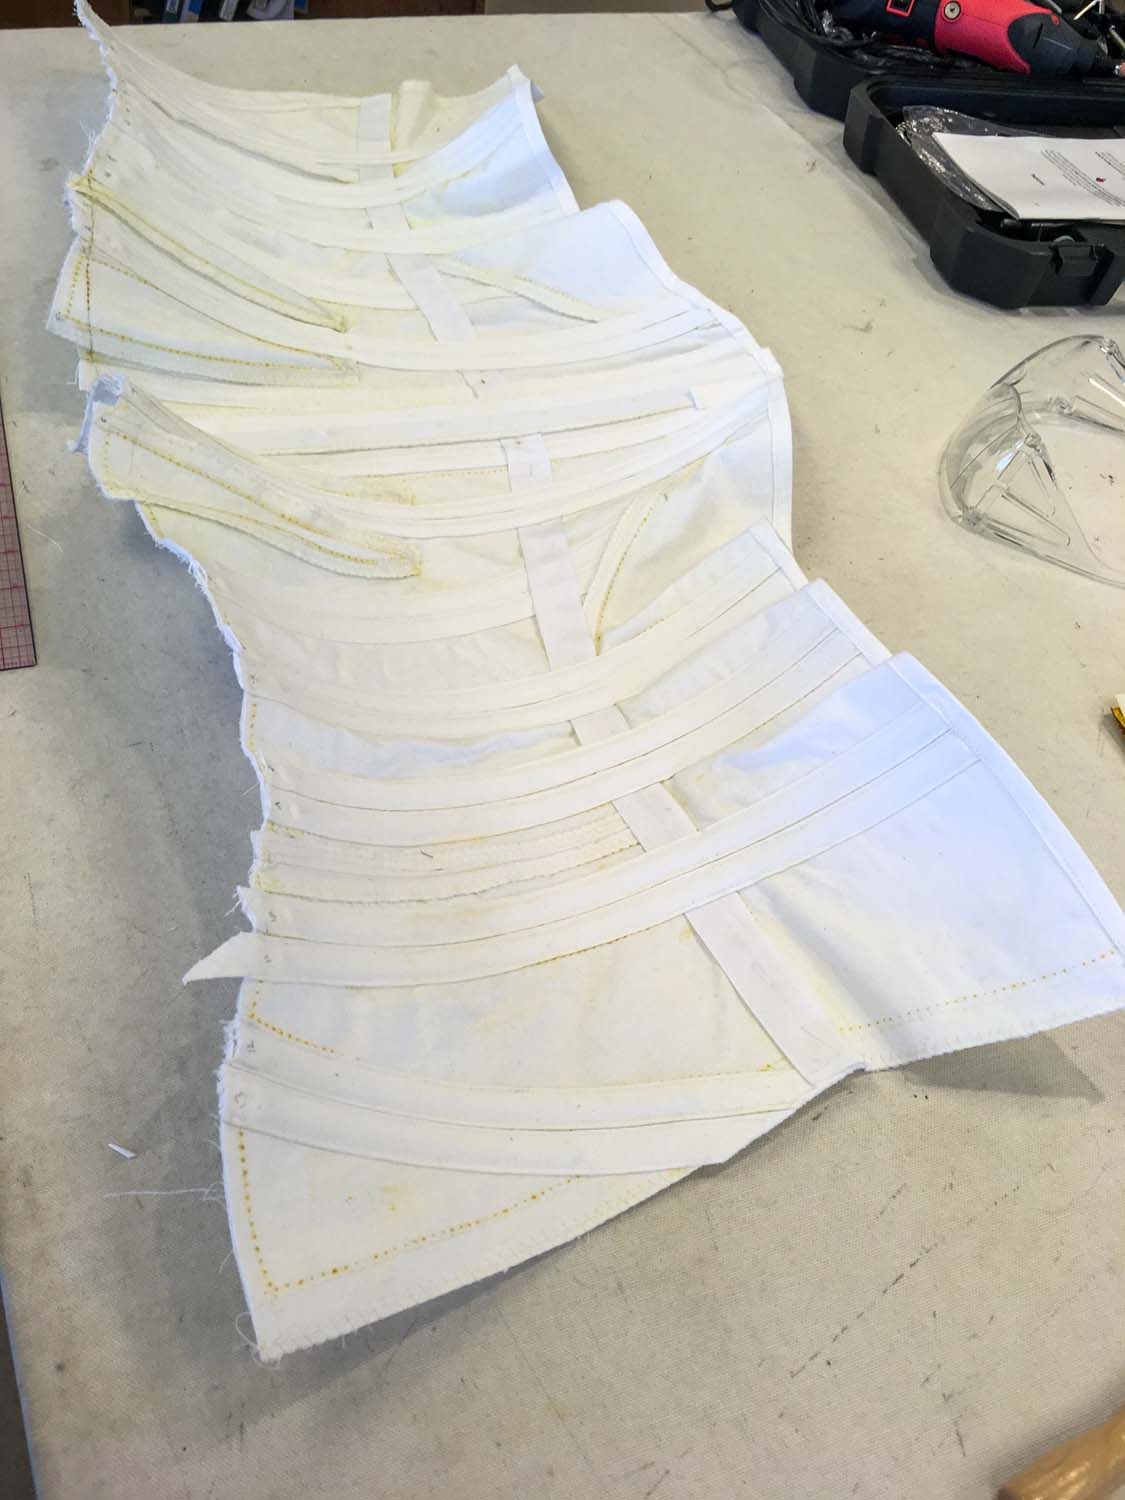
We all jumped right back into our projects in the morning and stayed pretty busy! For my 1860’s corset, I worked on slashing and inserting the gusset pieces for my bust. I love a good topstitch! Next, I worked on cutting and topstitching all of my boning casings, making sure to insert the waist tape halfway through with a hand baste before moving forward with the rest. Twenty-six bone casings later, I was ready to move on to cutting my boning.
We have been working with synthetic whale boning, and after cutting, we used a rotary tool with a custom tip to smooth down and round our tips of boning so they would be smooth and ready for the corset! Don’t forget your safety gear when using a rotary tool — dusk mask, ear protection, and safety goggles.
Midway through the day, Cynthia led a fantastic discussion about her founding of Redthreaded and her experience thus far in the business, which was very informative and engaging. We also prepped some samples of smaller boning pieces for tomorrow’s demo of flossing.
part two
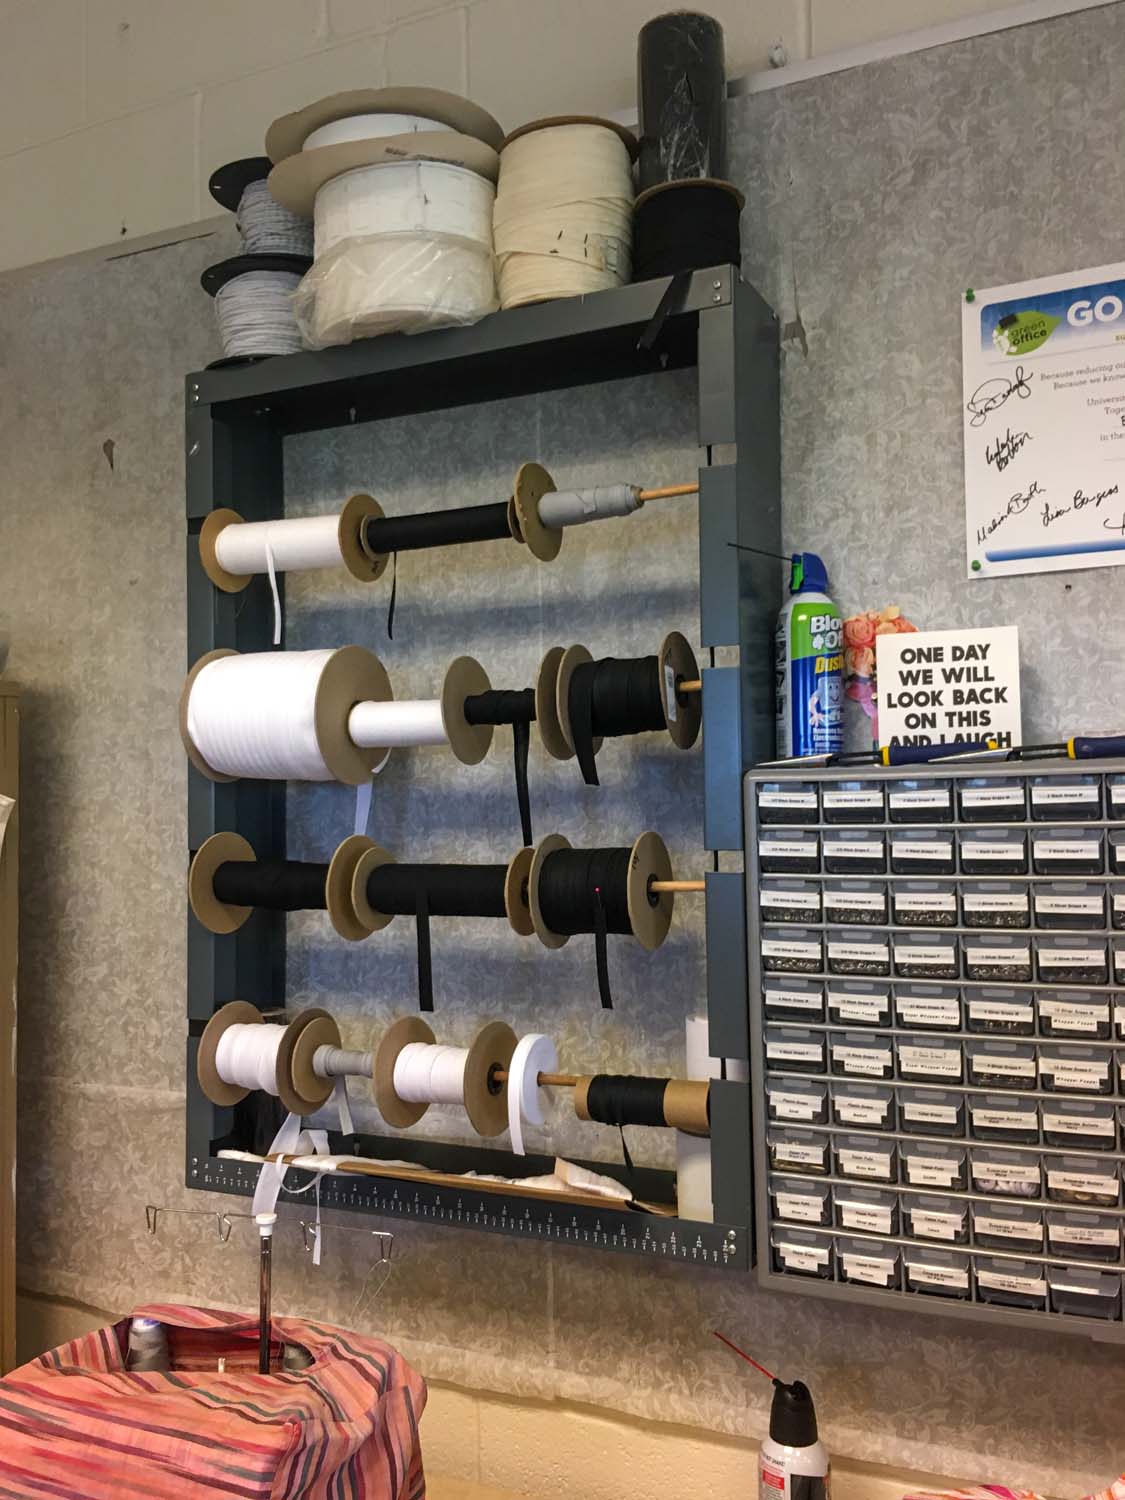
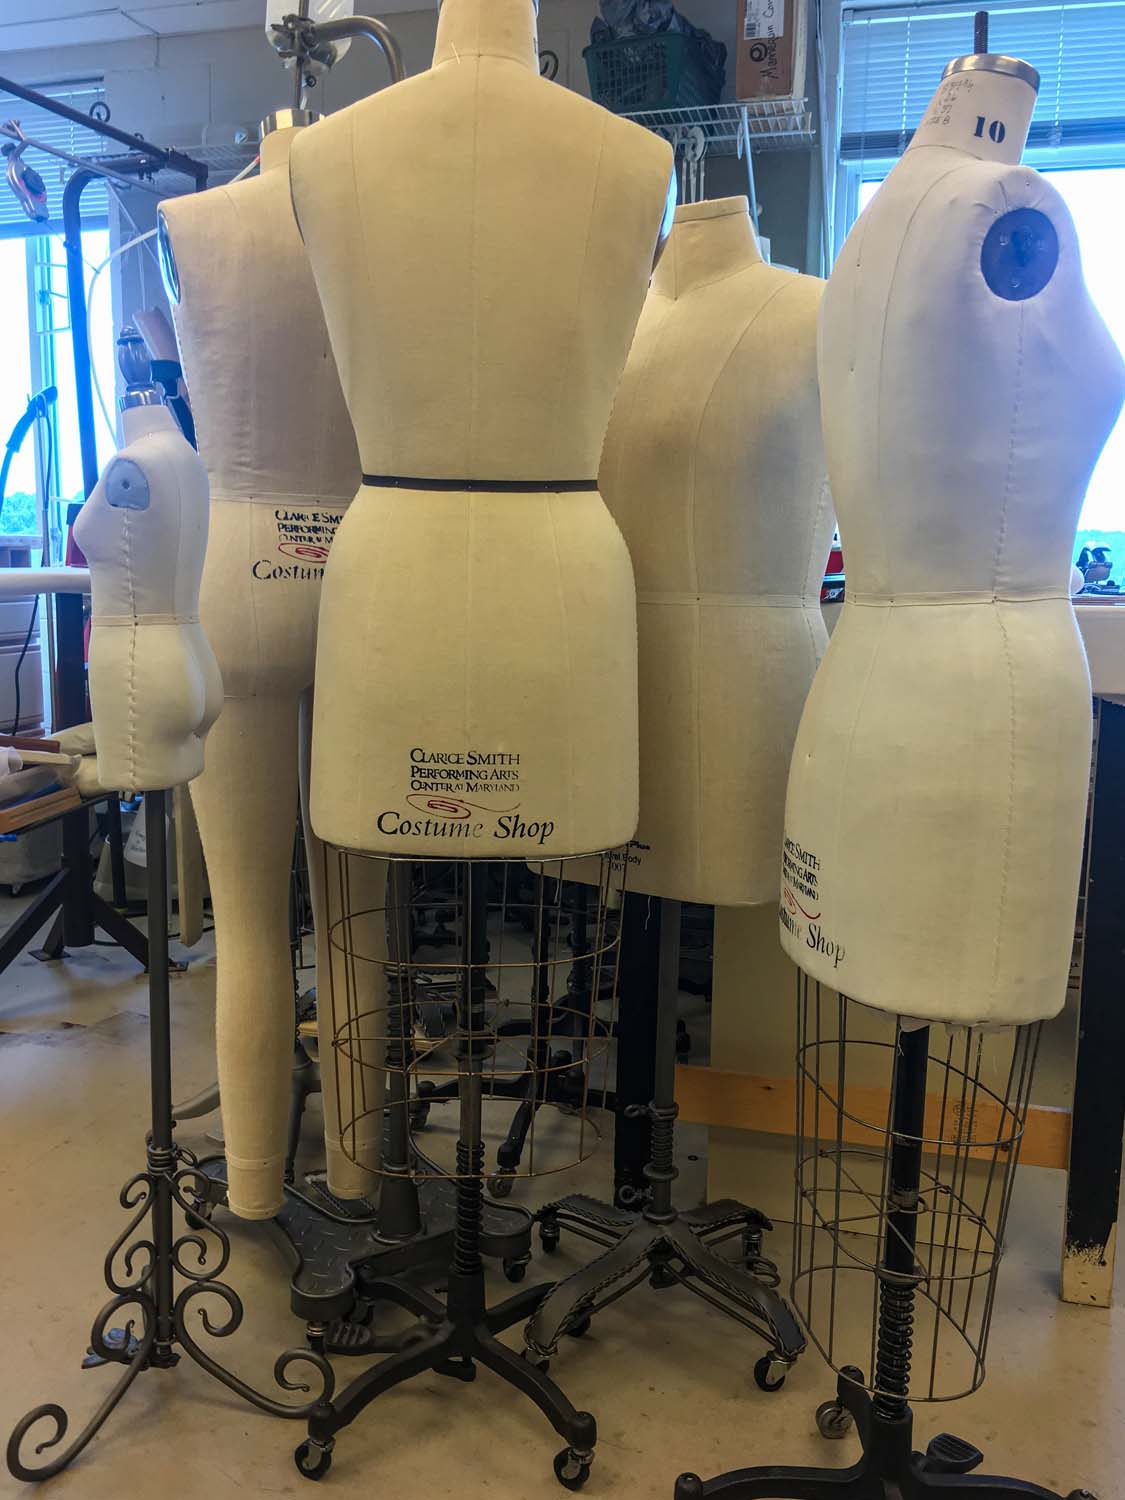
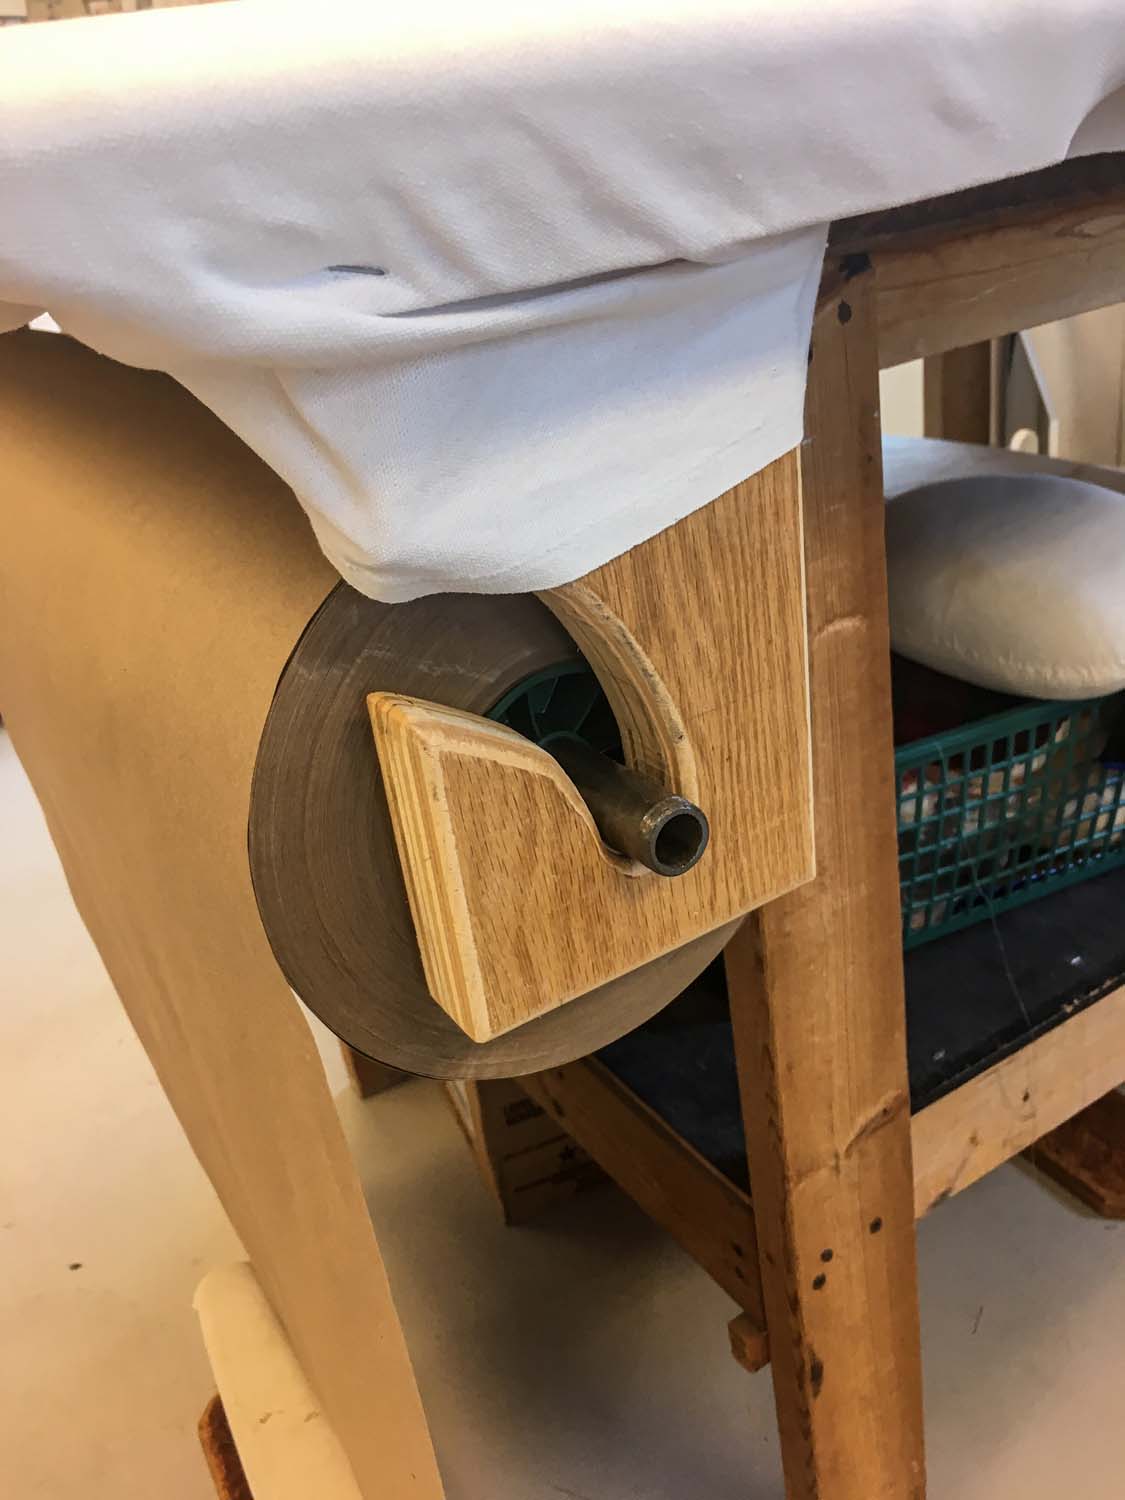
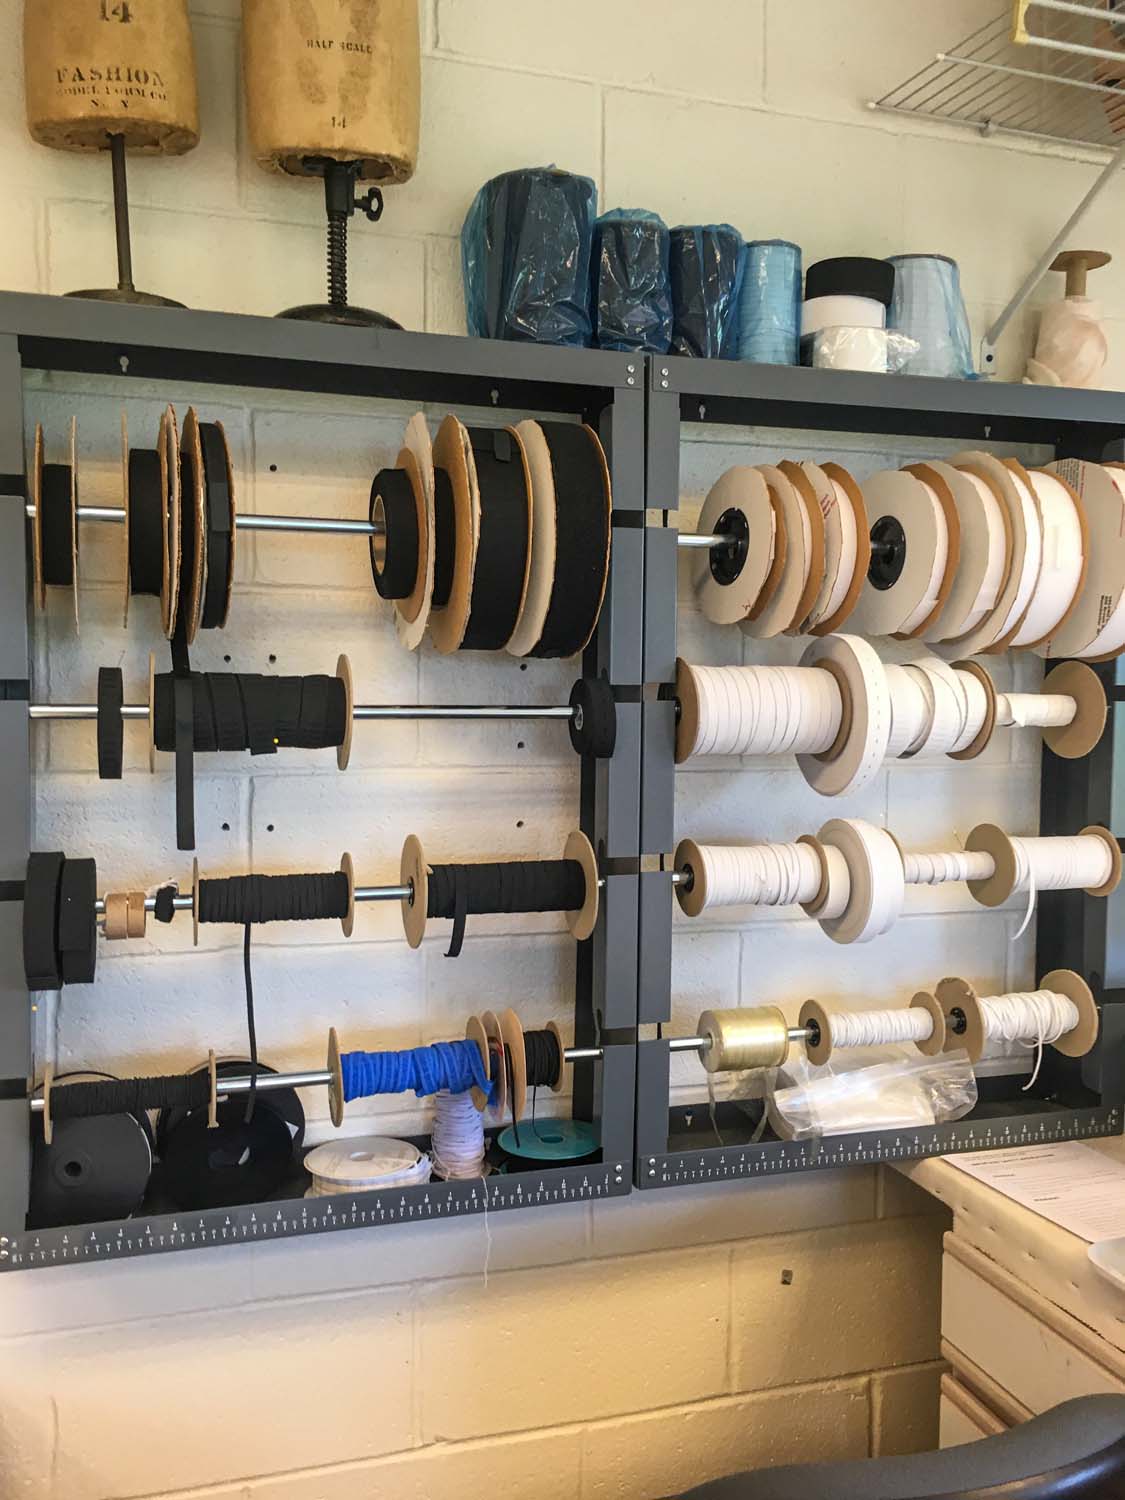
One of my favorite things is seeing how other professional costume shops organize their space and layout. I have enjoyed the opportunity the Costume Symposium affords us to visit and work in the Clarice Smith Performing Arts Center Costume Shop and looking at the details. They have an EPIC fitting room and LOTS of natural light from windows around the room. I took a number of photos to try and remember all of the details.
Day three
Part one
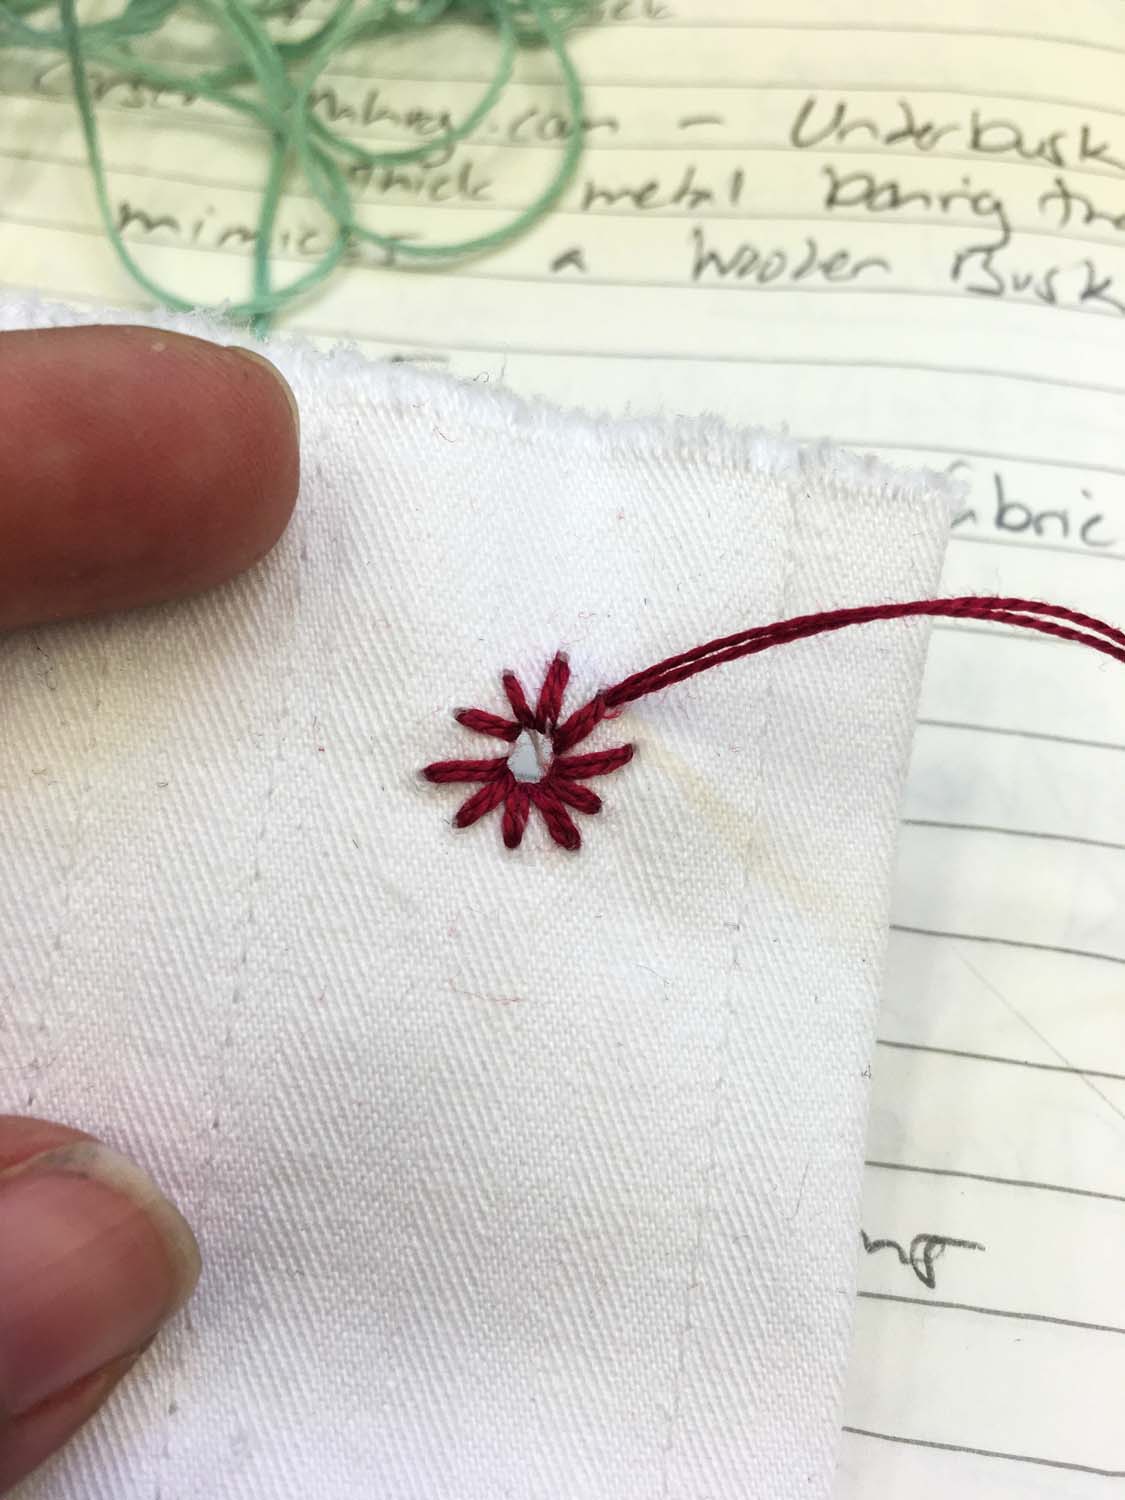
We had a fantastic lecture about the origins of corset flossing and talked through specific details unique to corsets throughout history. We also talked a bit about the business side of Redthreaded’s rise in the industry — all really fascinating!
We also passed around a flossing sampler and got some materials to try out our own. I loved trying out some hand-bound eyelet holes.
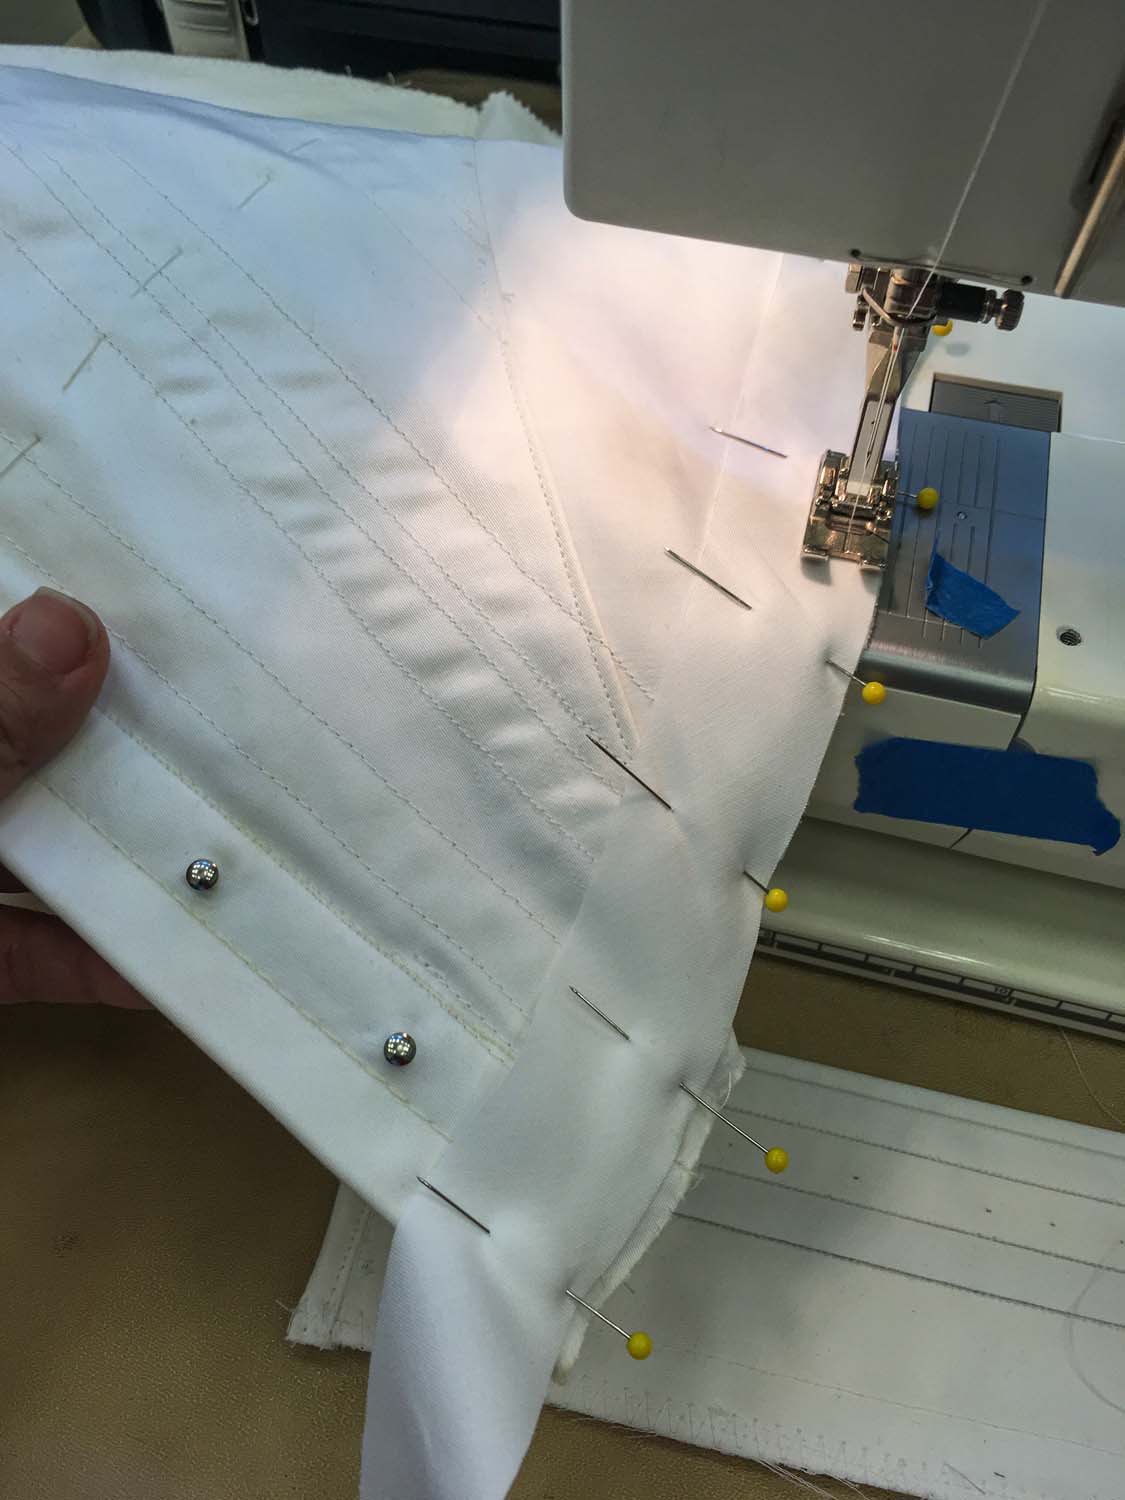
We spent a few hours on our projects before lunch, and I was able to adjust some of my boning after a quick fitting and then inserted bones and bound the edges using a bias binding. Using a fusible piece on the backside when doing my final steps was very helpful before stitching, and I may add some lace in the future to the top edge, too.
I prepped my back pieces inserting some steel boning pieces on both side of the eyelets. It was so awesome to walk around the room and see how far the group has come in such a short amount of time! Especially loved seeing everyone who brought their own fashion — so beautiful!
Since today was technically a half-day of working we wrapped up early before an adventure into D.C.
part two
We took a bus into D.C. and had a few hours left in in the day to explore the area and museums. A small group of us were determined to find the Daughter of the Revolution Museum, but when it was obvious we may not have enough time to look around after our trek we took another route to the National Museum of African American History and Culture.
Best detour ever! The museum opened in 2016 and is one of the best I’ve ever been into. The design was thoughtful, the subjects were powerful, and the history was awe-inspiring. I did not get to visit some of the higher floors but I am glad I made it from the beginning of the history timeline and was able to document some amazing clothing articles and extant garments throughout the museum.
This costumer loves museums and I can only wish I had more time on this trip to visit more — especially with more corsets and stays.
part three
One floor of the National Museum of American American History and Culture focused on major contributions and impact on the arts. A stunning exhibit dedicated to the movers and shakers in music, tv, film, and my favorite, of course, theatre! Loved seeing these amazing theatre and film costumes up close!
Day four
Part one
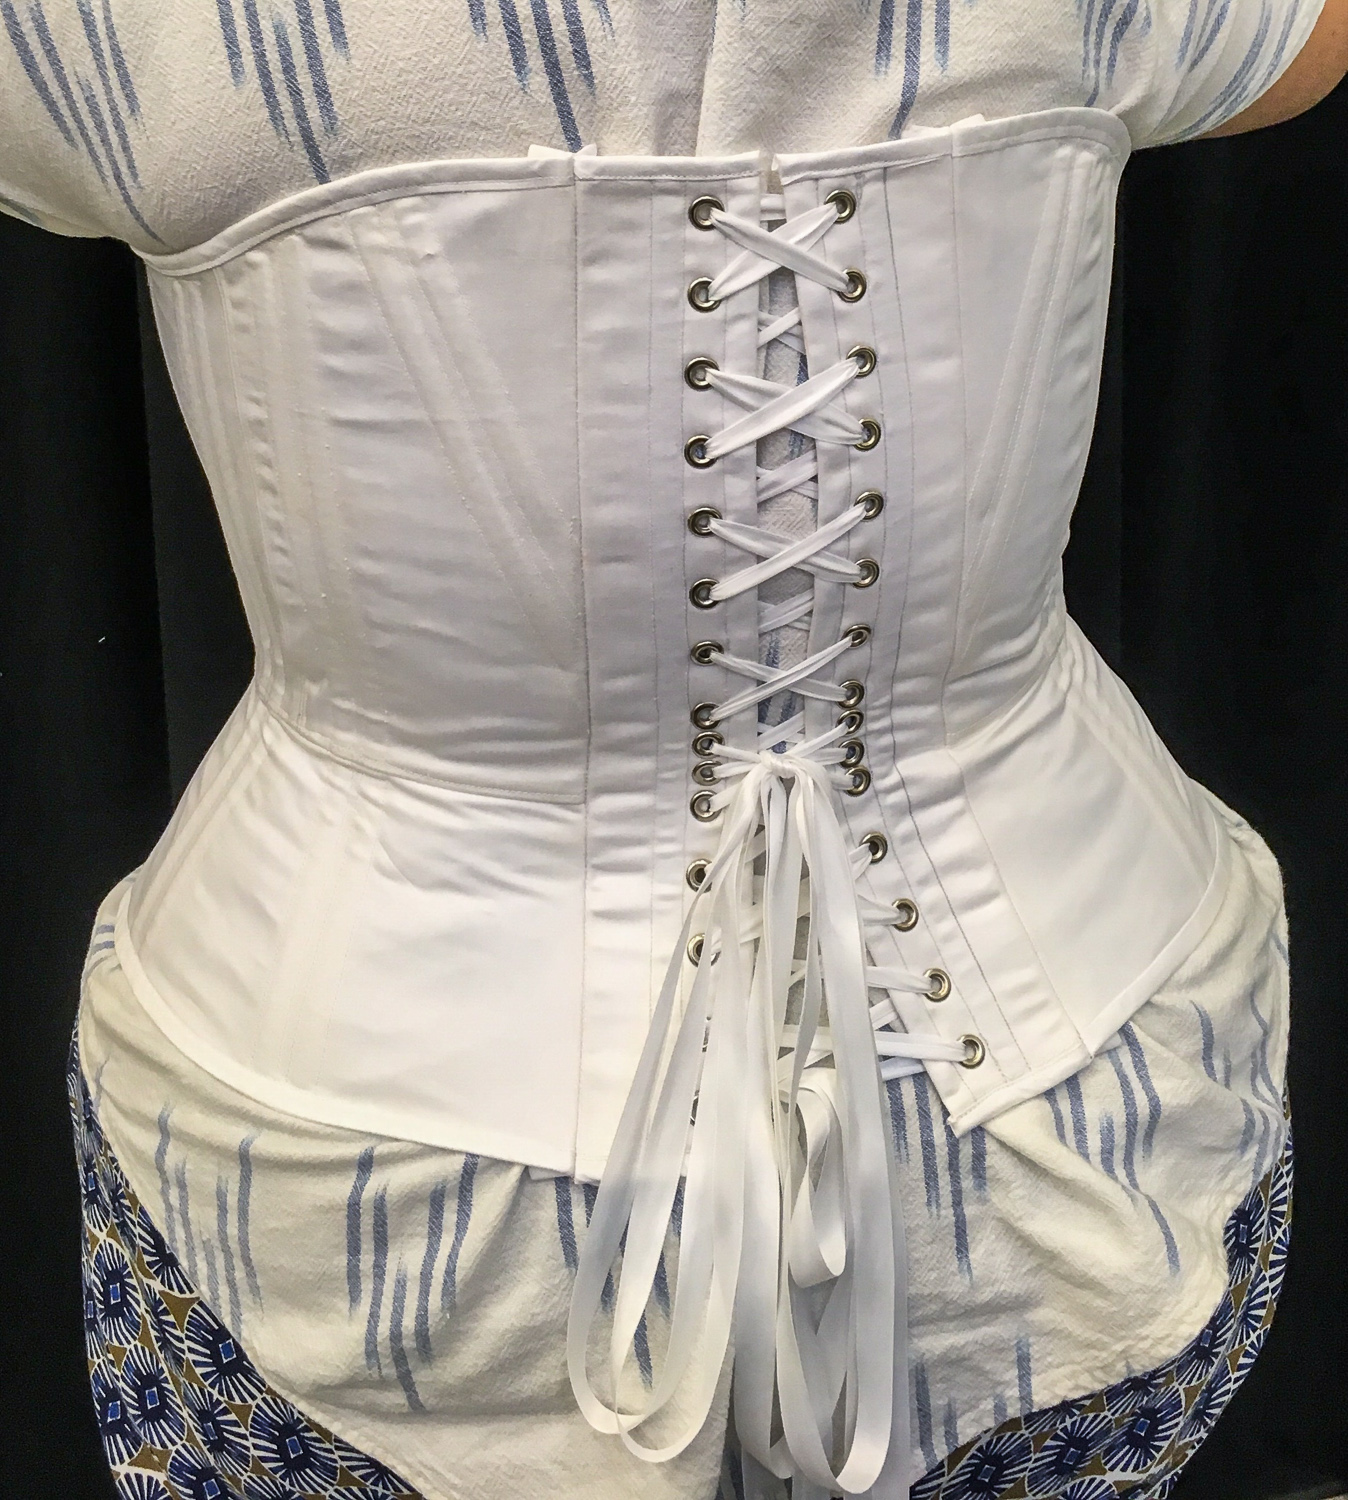
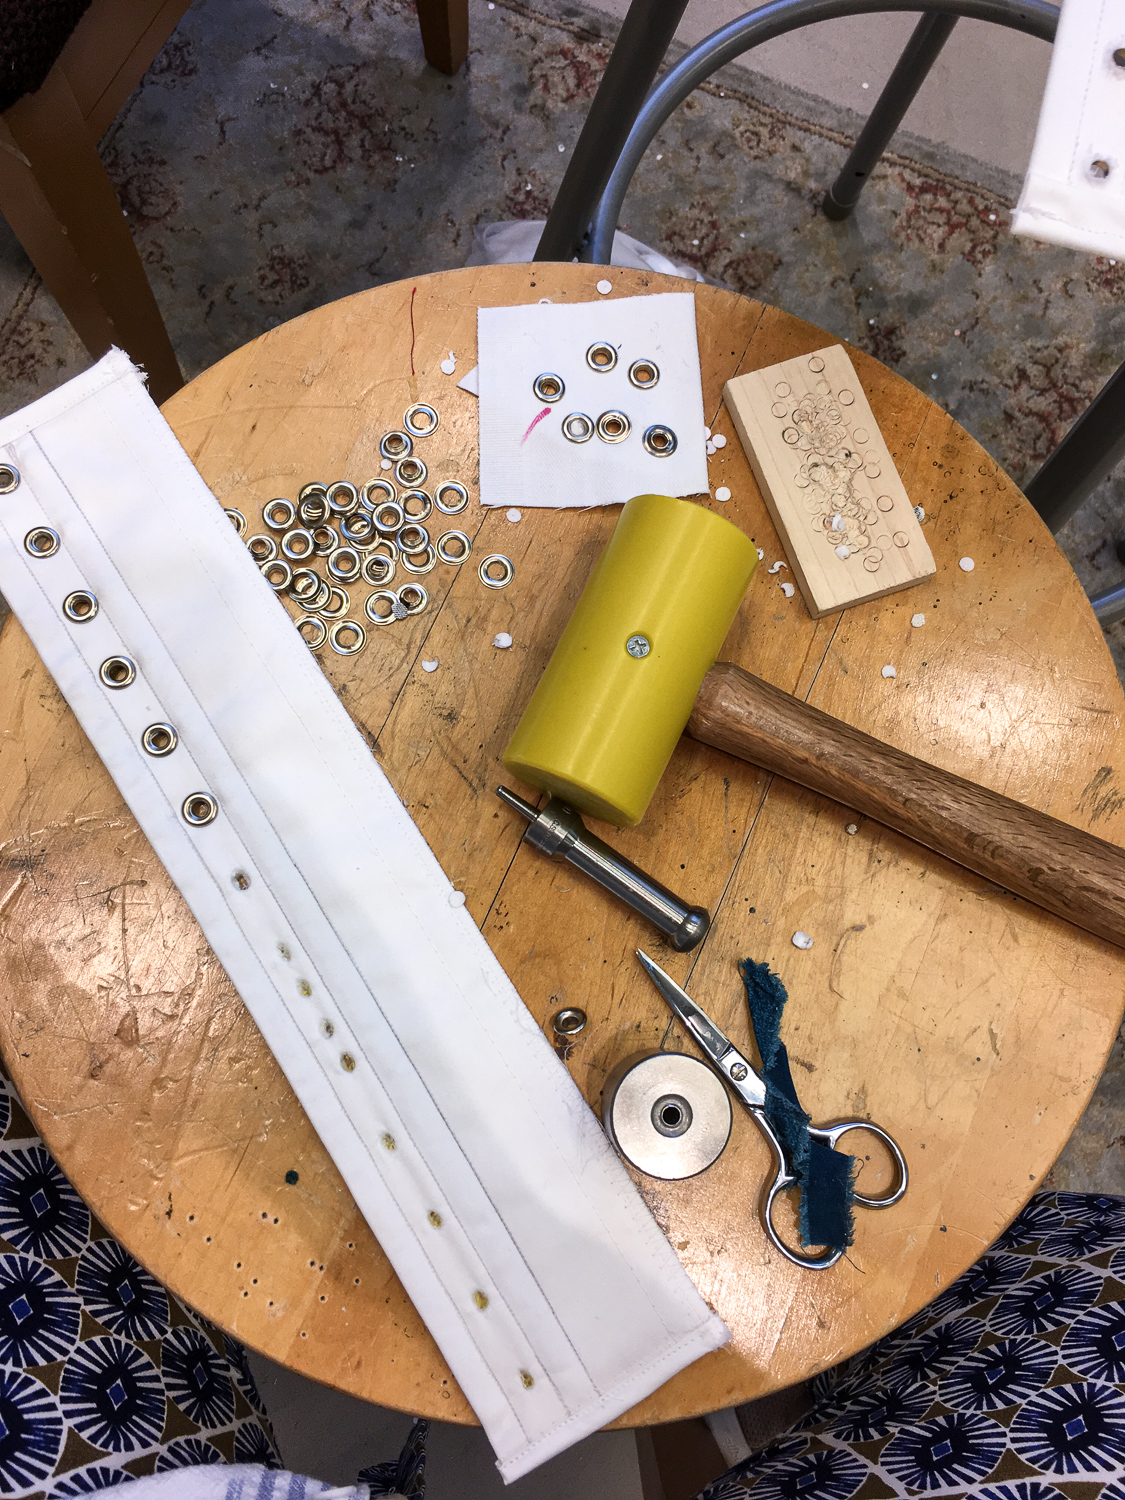
Our last day of the Symposium and thus last day to work on our corsets! I spent most of the morning getting the final touches done, which included adding my corset backs onto the front- but first eyelets! I used an awl and my snips to open a hole in my fabric for the eyelets. This is more structurally sound than using a hole punch, which will cut the fibers.
Then in our fitting room, I used a rubber mallet and eyelet tools to install all of the eyelets. Once I was happy with the end result, I made sure they were lined up correctly on the corset and stitched in place. I didn’t topstitch these panels securely into place until after getting some feedback on the corset fit from Cynthia. I’m almost there!


Part two
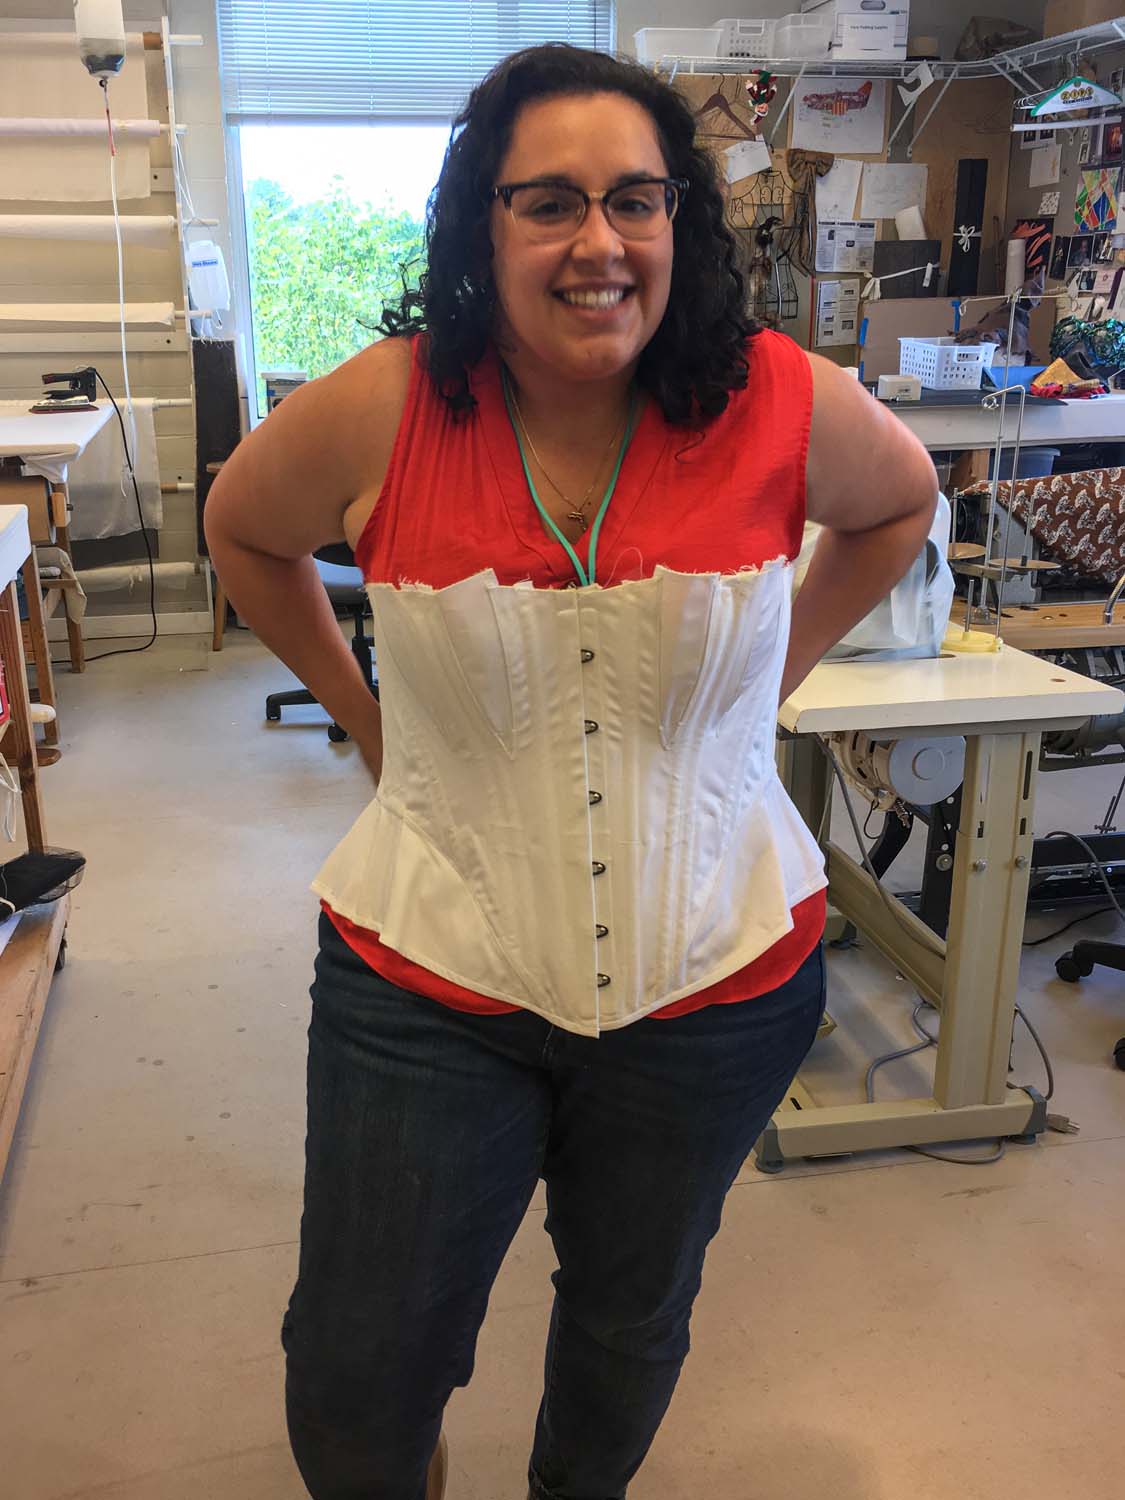
1860’s corset: completed! Thank you so much to Cynthia at Redthreaded for all your corset wisdom and help. And to my amazing classmates for their guidance in what I would call a marathon sewing week!
Unless you make amazing corsets for a living, it’s quite challenging to do one, much less be accurate AND fast in your construction. However, the amazing ladies in our group and I got it done!
Overall, I think I should have sized down in my pattern by one or two sizes, but I was still able to get a fantastic fit and learned a ton over the week that I didn’t know about the processes of proper corset making. I would highly recommend to anyone who is an advanced sewist to check out Redthreaded, their patterns and their products. Their quality and attention to detail (especially in the pattern details and instructions) in fantastic! Thanks to Redthreaded and USITT! Can’t wait for my next Symposium!